
This week was spent mostly prototyping an interaction system. Here’s a full list of what I’d done
1 – Narrative Design Course
I followed a few video lessons from Unreal Engine 5 Visual Novel and Narrative Design . It’s not exactly what I’m aiming for, but it shows enough of the basics and tools. I realized it is much more different than what I intended to do for dialog and script management so I stopped at about a third/halfway through it and started making my own system instead.
2- Object Interaction
This is where most of my time this week went. I decided to just dive in and make the interaction system from scratch myself, that way it will suit my needs and workflow exactly the way I want it, and also I will practice programming. The course above (what I followed of it, at least) helped me know just enough to start experimenting, especially how to reference an actor from another. What I was missing was for a way to talk with any arbitrary object, without hard-coded references in my code, and for that I found out about Interfaces . I was familiar with the concept of C++ interfaces from a long time, so it wasn’t hard to start using them. Unreal offers an “Implements Interface” node, which can be used to check if an actor implements it in its blueprints, and that’s all I was missing.
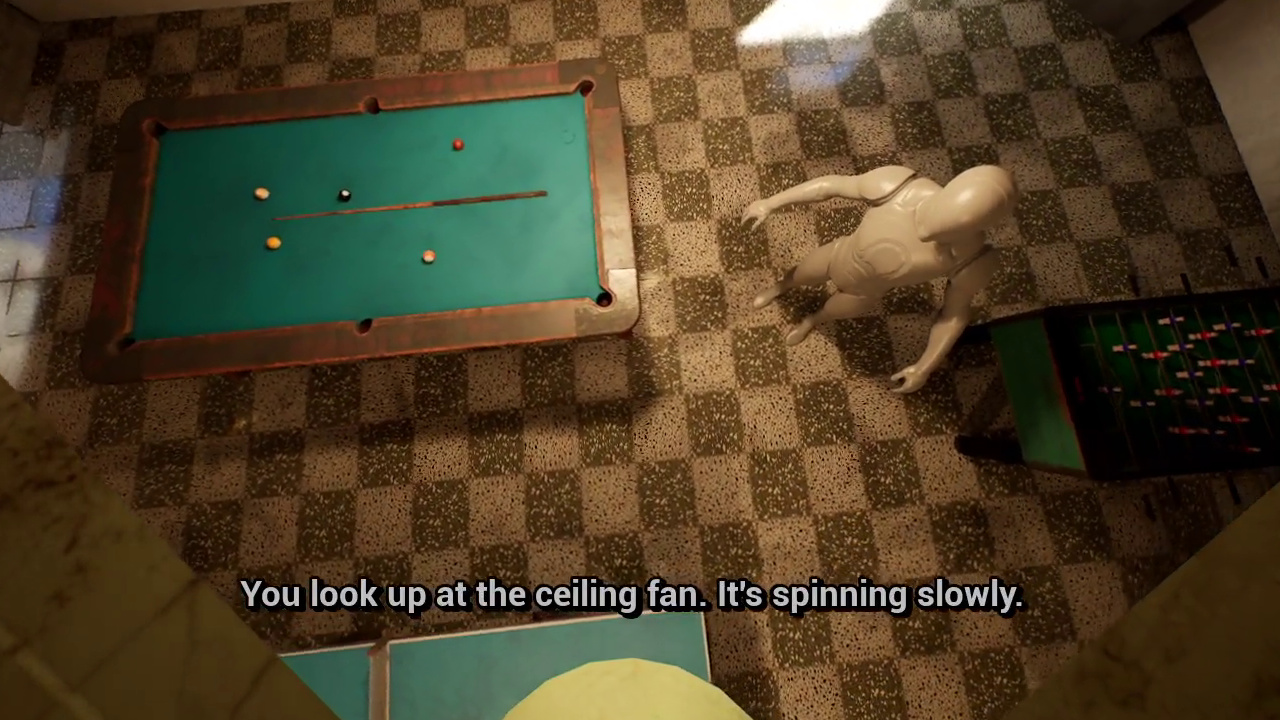
Here’s a demo of the finished system.
Here’s a “short” explanation of my system:
I created a blueprint for the interactable objects. From there, I will implement the interaction interface used to send data to the Player Blueprint, where all the logic is handled. It has a static mesh component, a sphere collision to overlap with the player, and a camera component. It has variables, where external camera, dialog, and whether a camera is used at all or not, as well as some that control the interaction radius, camera offset, and object origin (eg. set origin to player’s head instead of torso, or focus on the screen of an arcade machine instead of its body).
Here’s an implementation of the interface function:
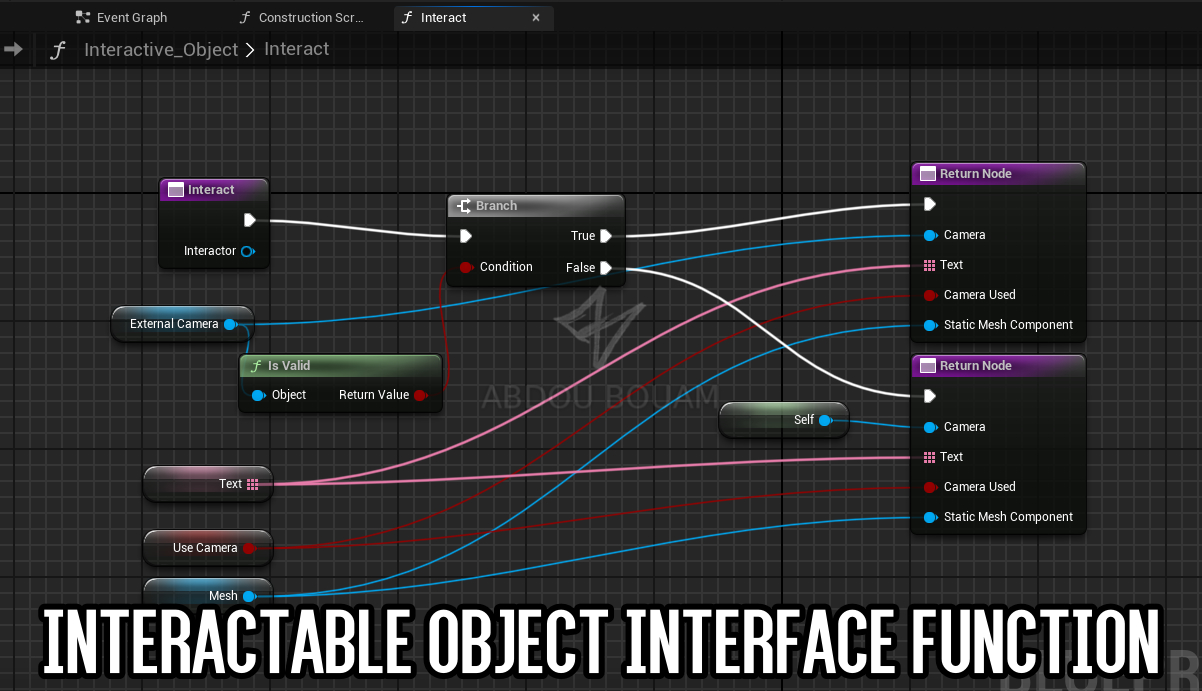
I made a construction script that changes the position and rotation of camera, focuses it on the object, add offsets, and set collision sphere radius.

In the Player Blueprint, there’s a tick event that executes the following :
- Check if there’s enough time has passed since last execution (>0.10 seconds for example), to save some resources. I’m not 100% sure of the impact of this, but it’s based on the assumption that “Get Overlapping Actors” is too expensive to run on every tick. Please note that this step is skipped in the screenshot below.
- Get a list of all actors the player is overlapping with, using a “Get Overlapping Actors” node (each interactable actor has a sphere collision).
- Use list of actors, and check for the first actor satisfies both conditions : 1- Has implemented an interaction interface. 2- The player is looking in its direction (I compared the camera angle vs what the angle would be if you looked straight at its origin, using a dot product).
- When an object satisfies both conditions, show the interact icon, and change its material to be highlighted, and also set the “Active Interaction Object” variable to reference it. Otherwise clear that variable and undo the highlight and hide the interact icon.

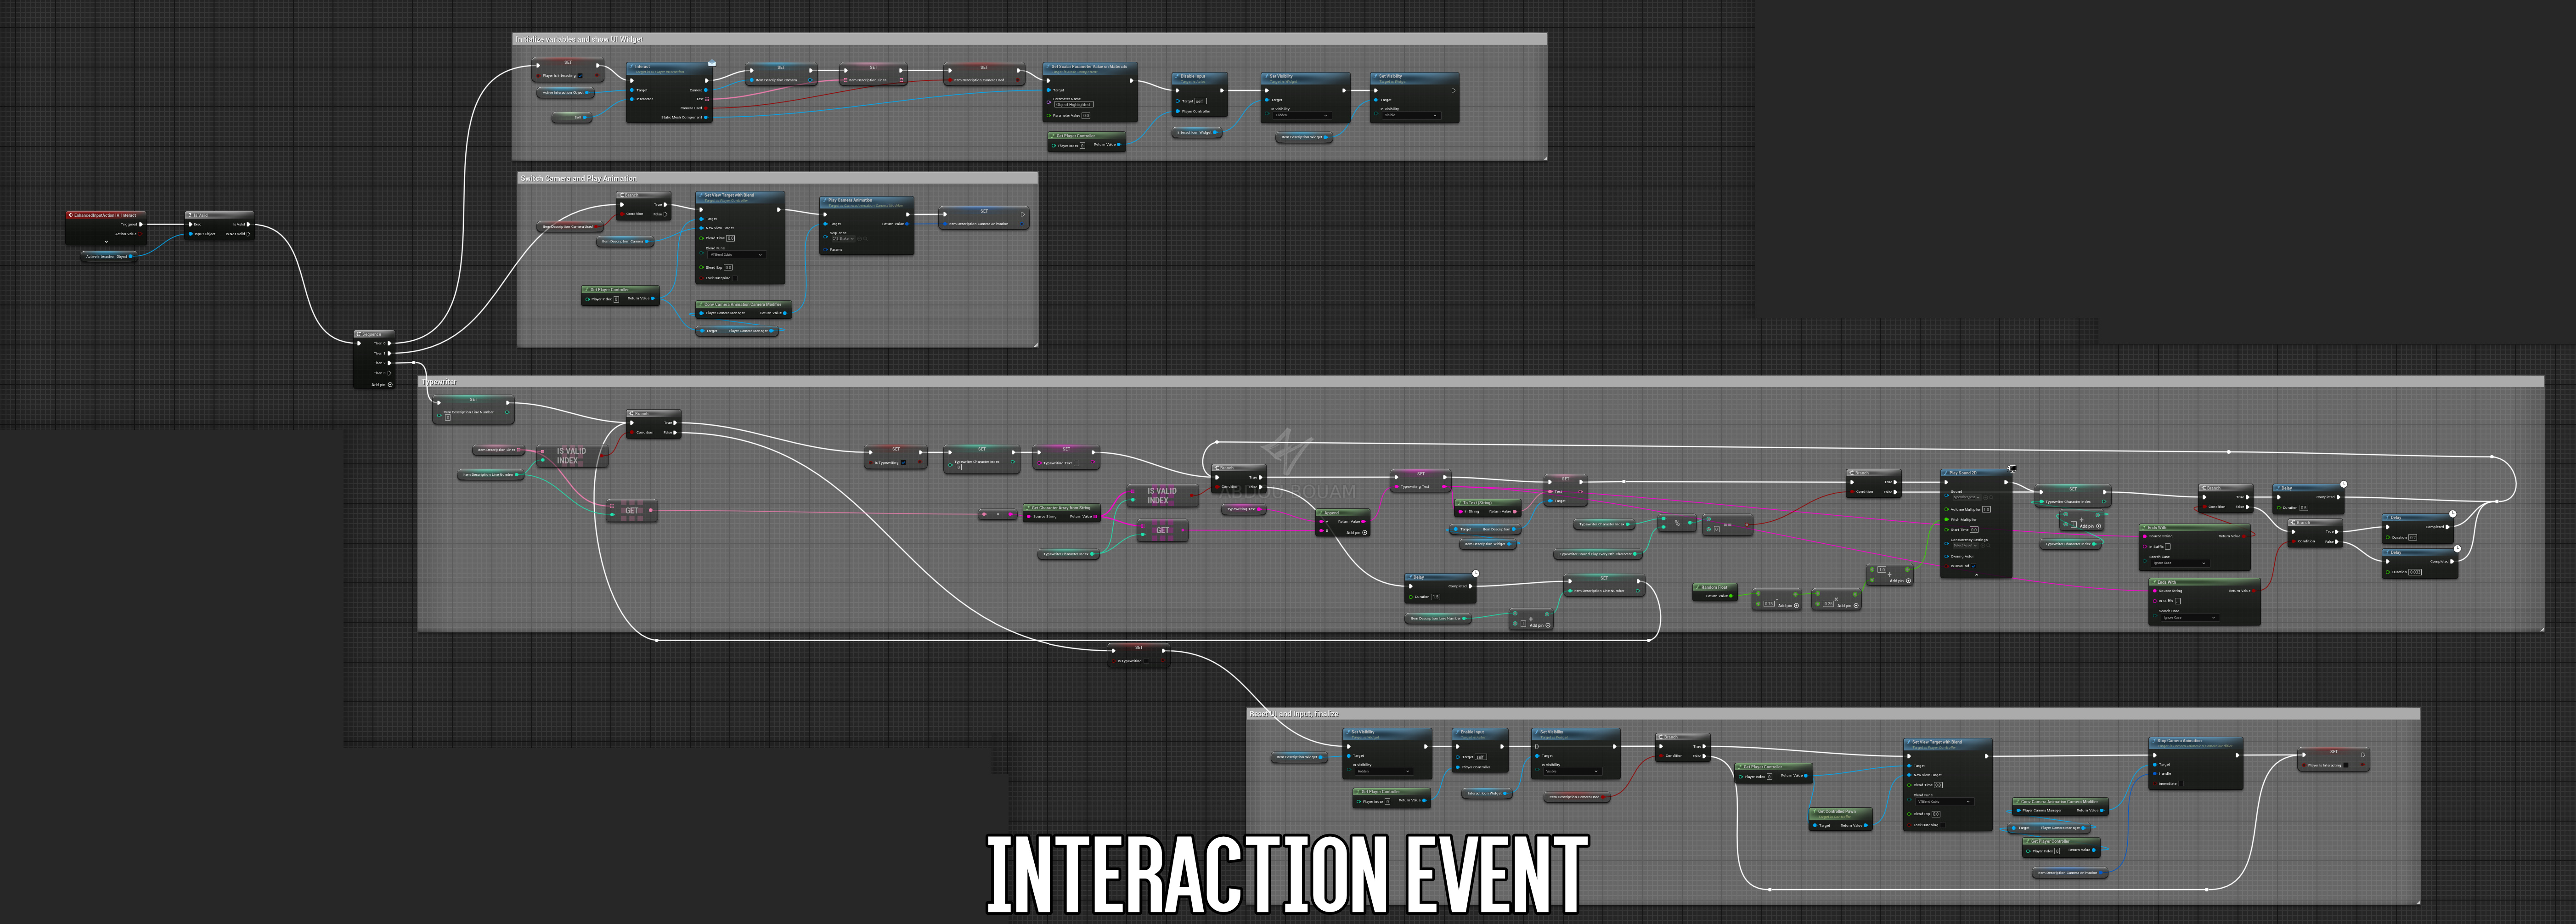
In addition to that, there’s an “On Click” event that acts independently, triggered by the key “E”. It does the following :
- When the player presses the interact key, it checks first if the active interaction object is valid to proceed, otherwise do nothing.
- The code gets a list of variables from the active interaction object, such as dialog/description lines, use camera, custom camera, internal camera, camera offsets…etc.
- If “use camera” is true, the active camera switches to the interactive object camera or external camera if specified.
- Show the text UI, and load each line of the dialog with a typewriter effect, one by one. Play a sound every nth letter (every 2nd or 4th tends to work well, depending on speed), and delay slightly longer if the current character is a period or comma (more punctuation will be handled later).
- When all the characters of a dialog line are loaded, pause for 1 or 2 seconds (To do : change this to wait for user confirmation instead). If there’s still another line of dialog, repeat the step but with that line instead. Repeat until all the lines are exhausted.
- Remove UIs, clear active interaction object, stop camera shake animation if still playing, and switch back to the player’s main camera.
That’s pretty much what I did this week. I was a little bit worried I won’t like programming with nodes in UE5, considering I like low-level languages with text, but it felt very easy to get into and the logic behind things made sense. But it’s just another way of writing code, the implementation is really good.
Don’t hesitate to ask if you have any questions, and I’ll hopefully see you next week