
Hello world! This is my first blog post. I am currently working full-time on a personal game project, and I will be sharing dev logs here. I will share more details about the game when I have something presentable, but for now it’s just a bit of experiments, props and world building.
This is a recap of my devlog for Weeks 0-8. To keep things short, I’ll only post the key points, not in chronological order.
The first thing I had to do is learn Unreal Engine. It was not as bad as I anticipated, I already know the basics of programming, real-time rendering, technical art stuff, shaders…etc, and it was mostly a matter of knowing terminology and where Unreal keeps the tools. I got some help from Discord (hey XYZ friends!), and also from reading the documentation.
Shaders
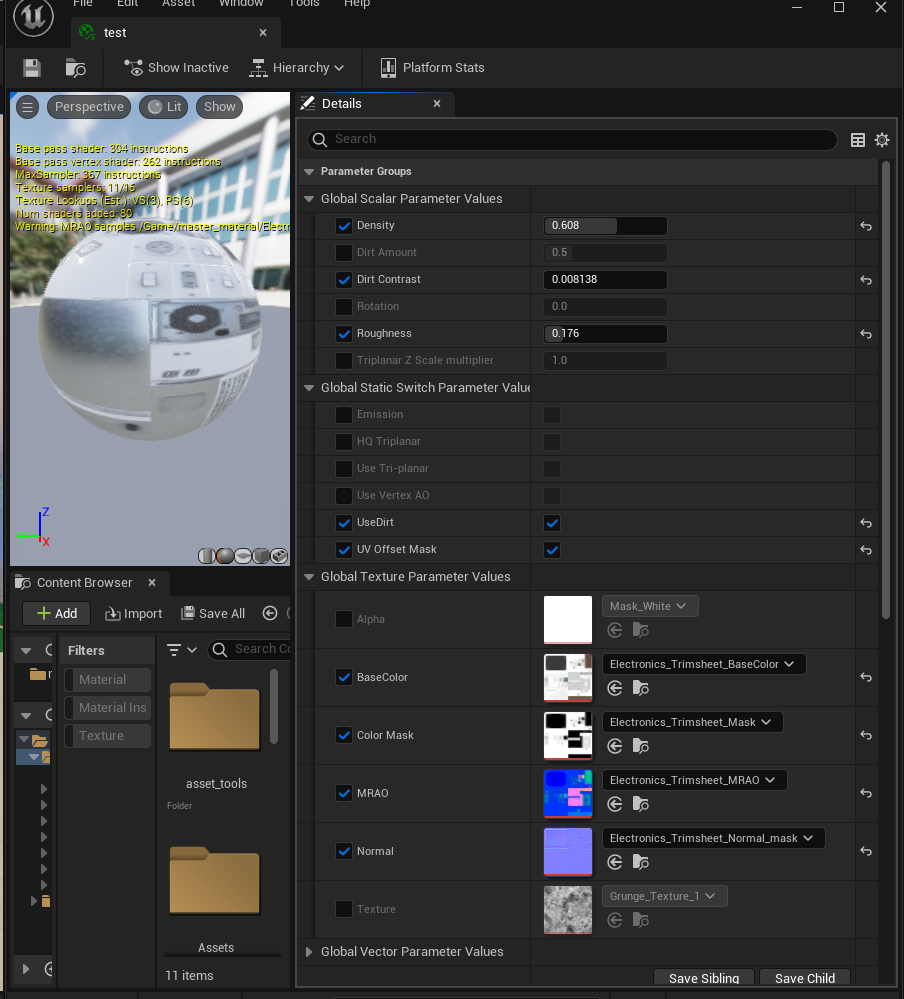
One of the first things I did was creating a master material with all the features I need, which include : Channel-packed (M R AO), masked color adjustment, roughness adjustment, AO-based dirt, emission and tri-planar mapping. I will add features as I go. I also made custom export profiles for Substance Painter, some macros for Affinity Photo, and a Blender node group that can use the packed textures and the compressed DirectX normals (only XY information, no Z).
I also created a screen shader with distortions, color adjustments, scanlines, “blinking”, and RGB pattern. In addition to that, I made a realistic scrolling pattern that emulates the way terminals work, loading a bunch of lines at a time and scrolling randomly


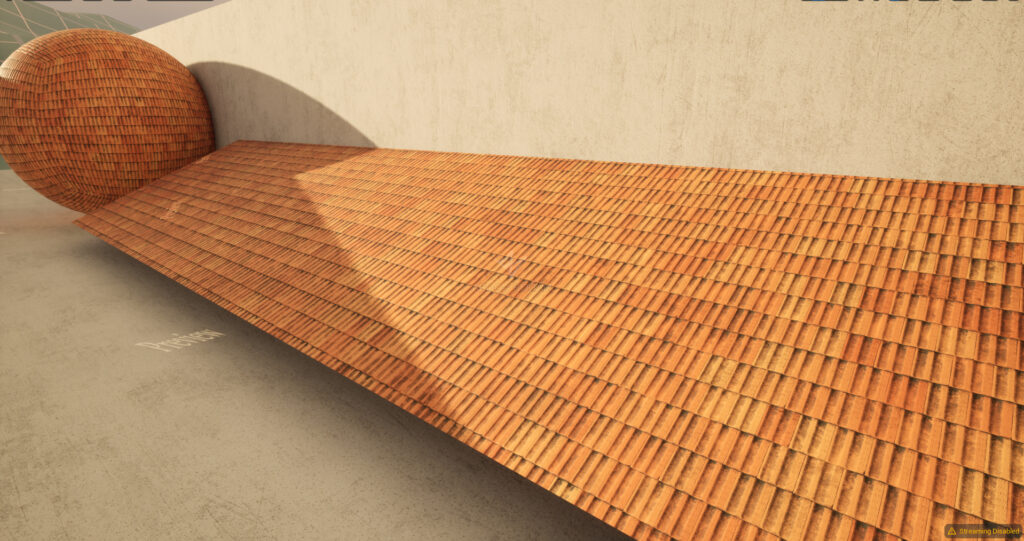
This was my first serious material in Unreal, a tile shader that can select from up to 16 patterns, set up to 4 different colors, adjust wetness and dirt, roughness, symmetry, and radial symmetry. The pattern selection might not be viable in production, because it doesn’t work with mip-maps and it needs TSR or TAA to work and it’s sometimes too noisy. It was a good learning exercise though.
And finally I made a “robot dream” screen effect. It’s not final yet, and it will probably change in the future, but this is what I have so far.
Materials
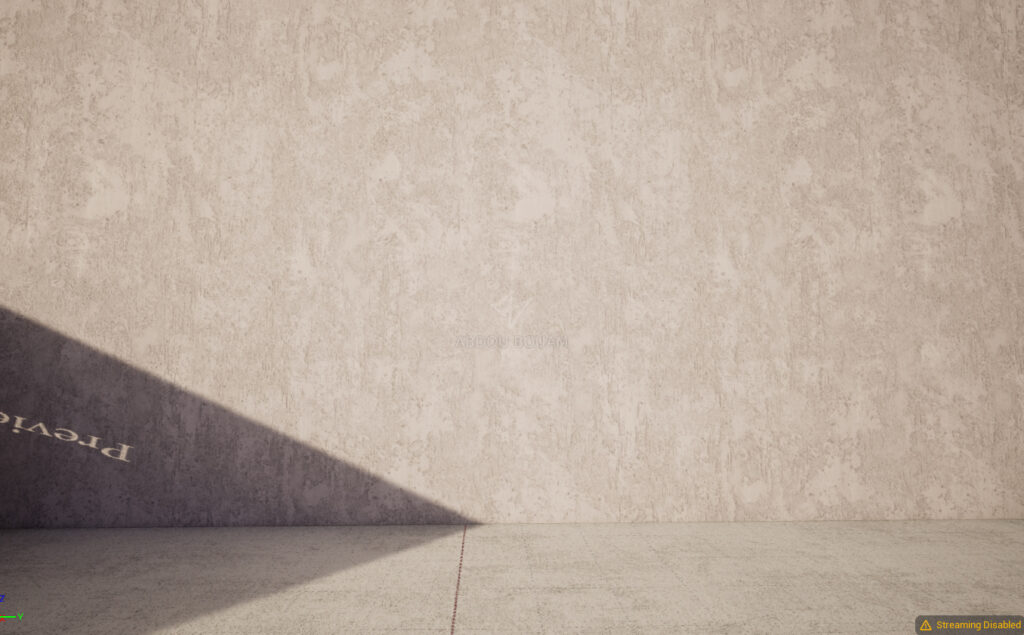
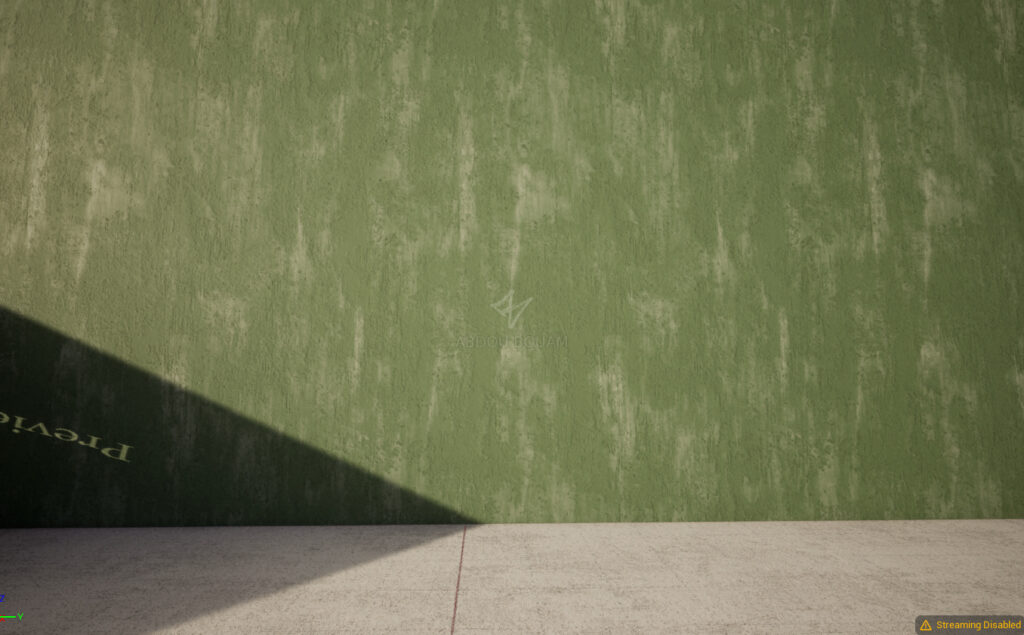
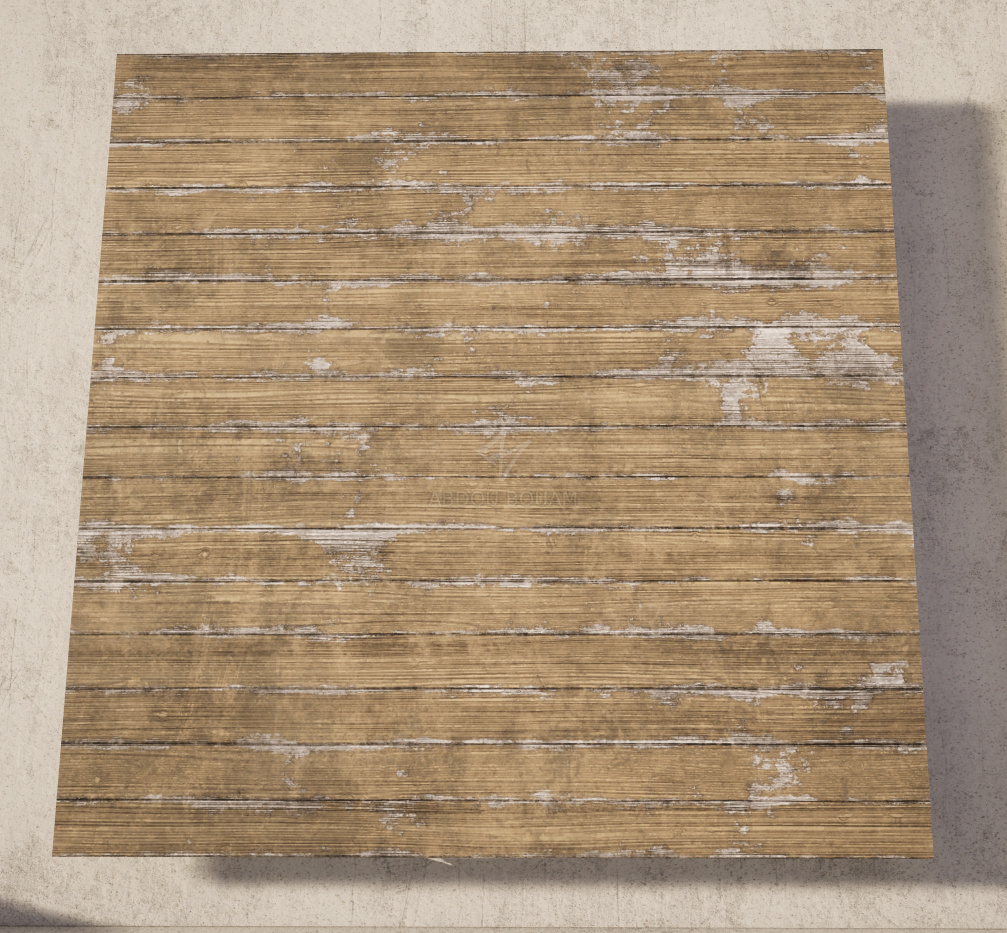
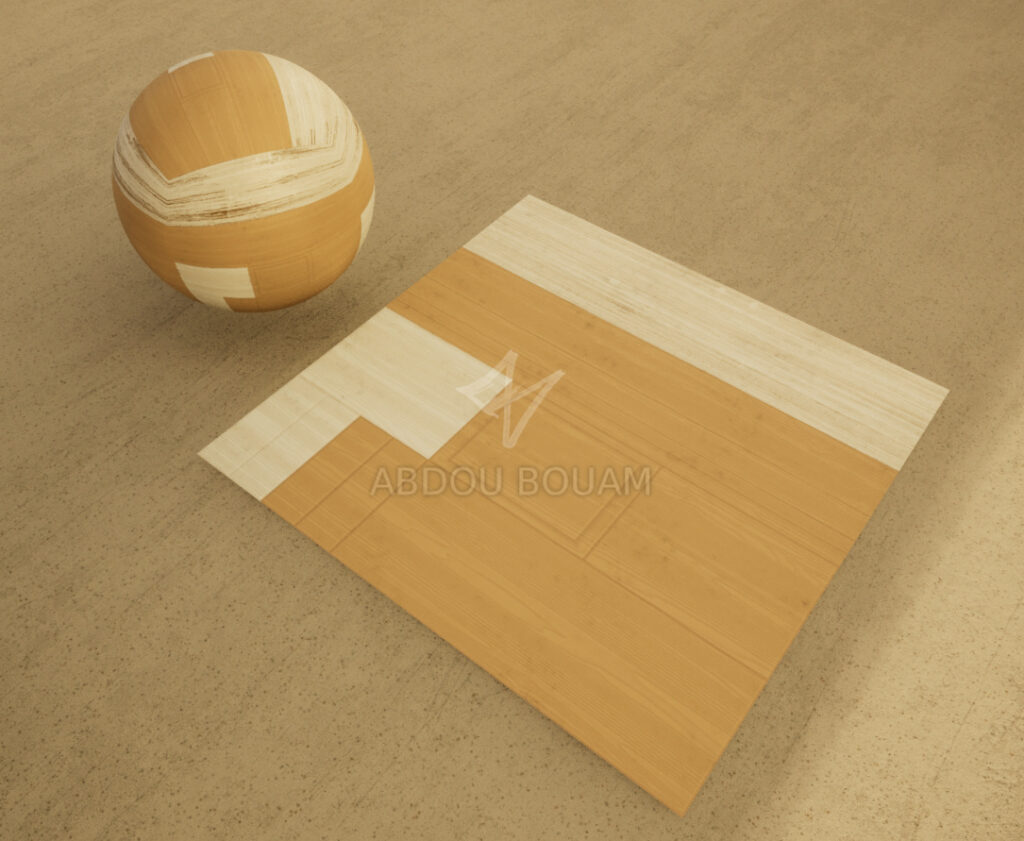
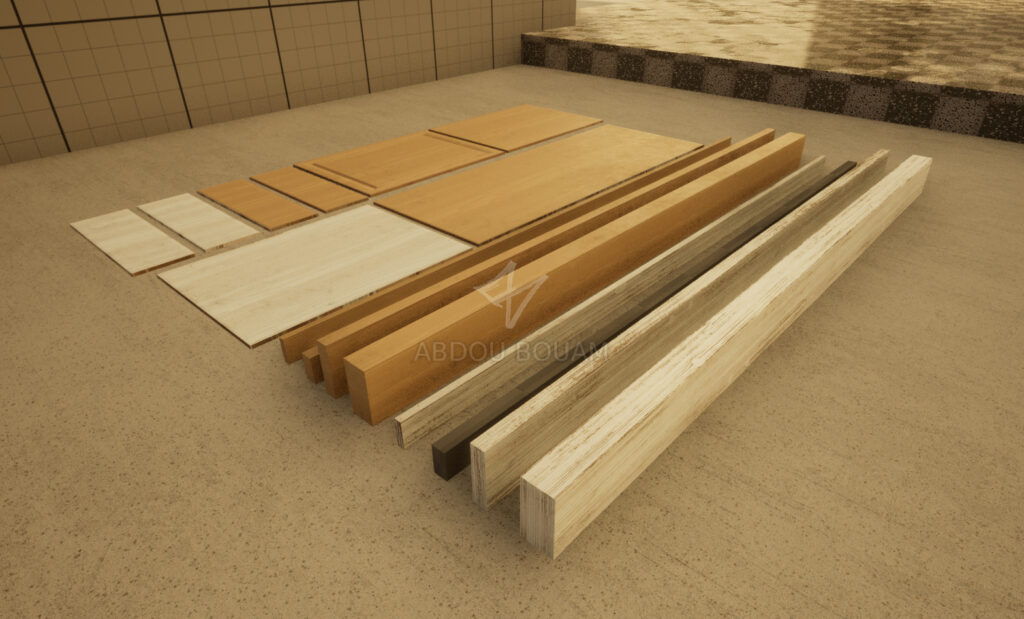
I created a bunch of materials using mostly Blender and Substance Designer. When combined with the master material, one texture set could be used to create a variety of materials. For example a simple painted wall texture can be used to create a rough plaster wall, smooth blue paint, peeling green wall (white “dirt” to look like plaster), dirty wall…etc. Here’s a bunch of examples below


I also sourced some decals from Textures.com, cleaned them up and bunched them together in atlases to be used in Unreal.

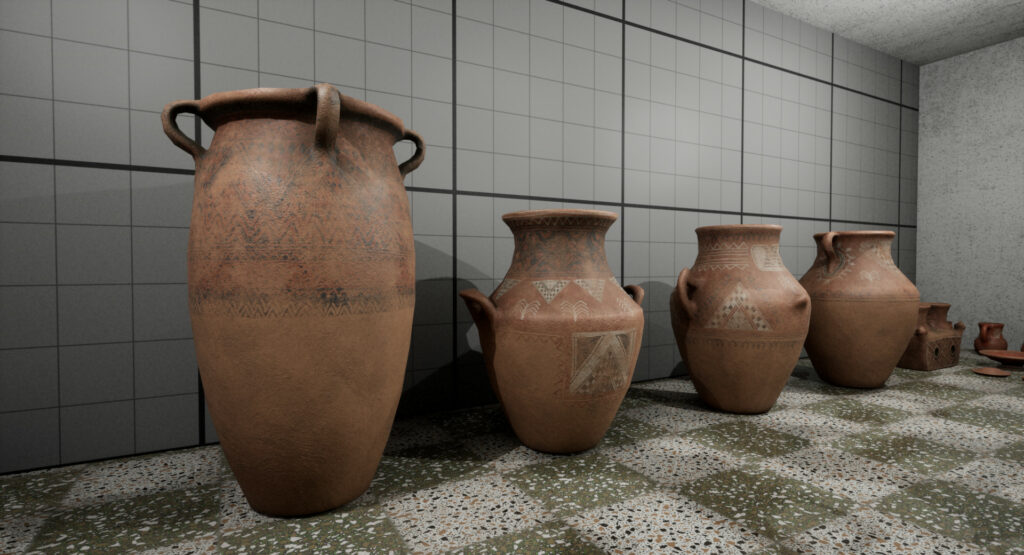
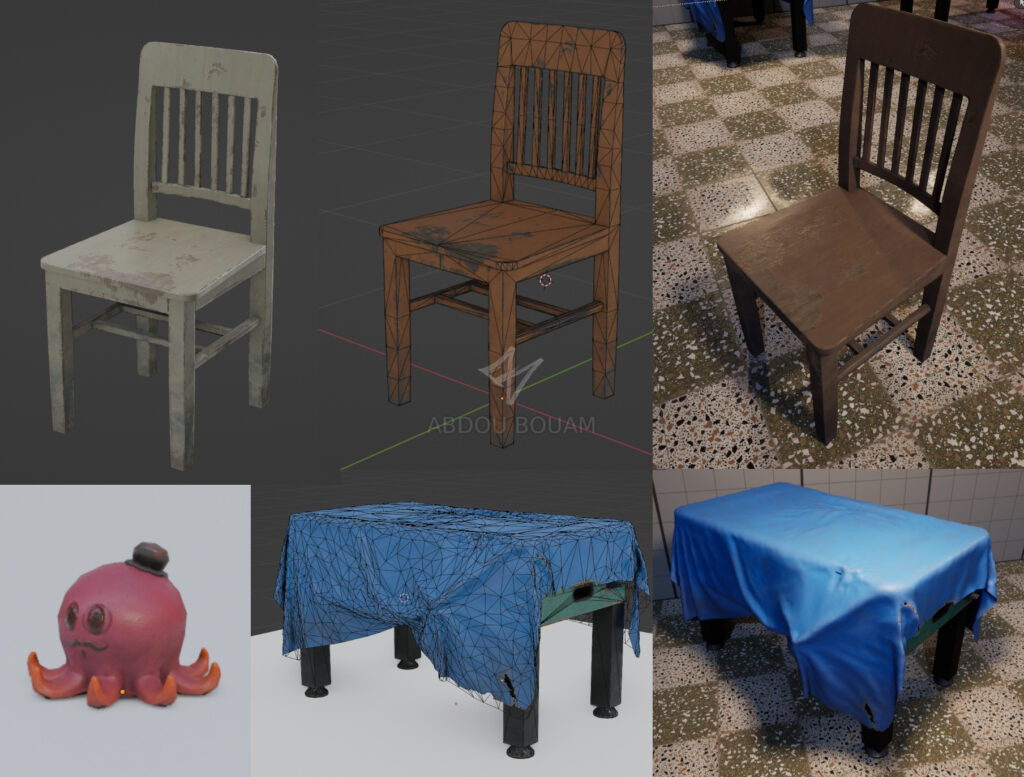
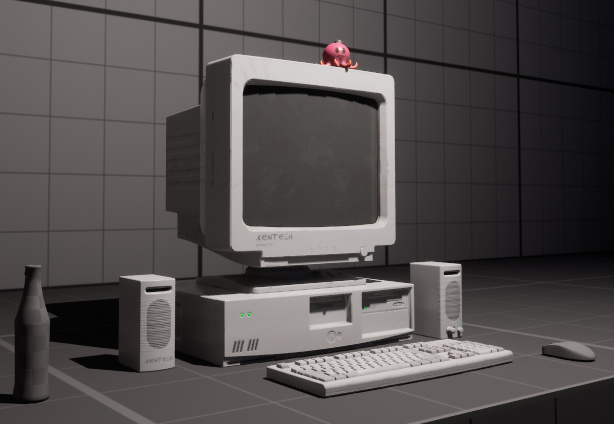
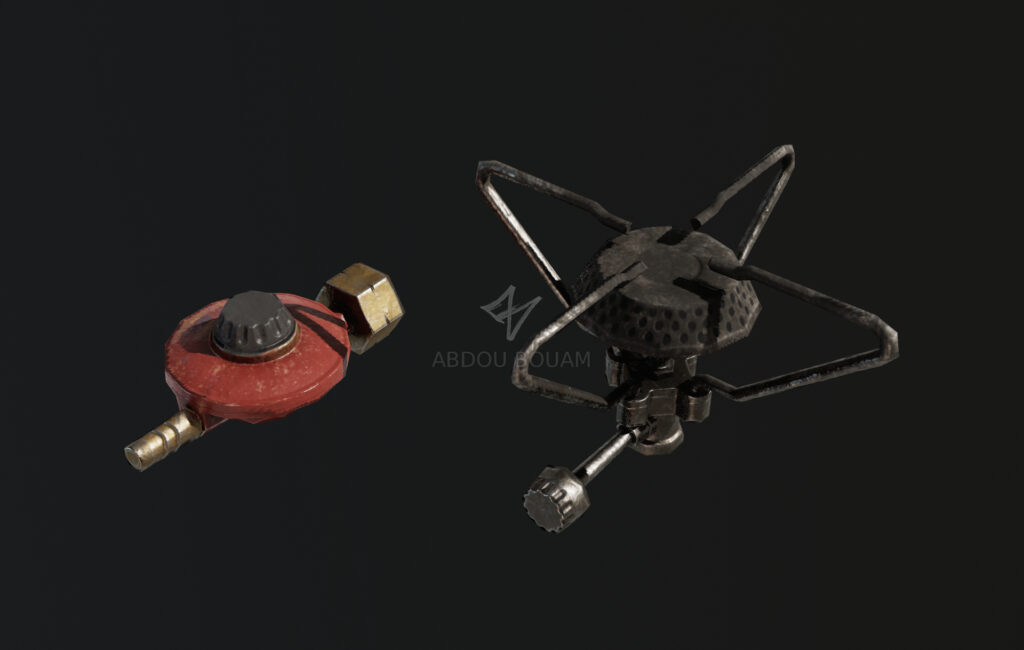
Models
I made a bunch of random models, some are semi-hero props, some are low poly environment props, so the quality varies greatly depending on the nature of the asset


That’s all I have for now. I’ll try to post devlogs every week here. Thank you for reading.
3 thoughts on “DevLog Dump (Weeks 0-8)”
test comment
test comment 2