
Models
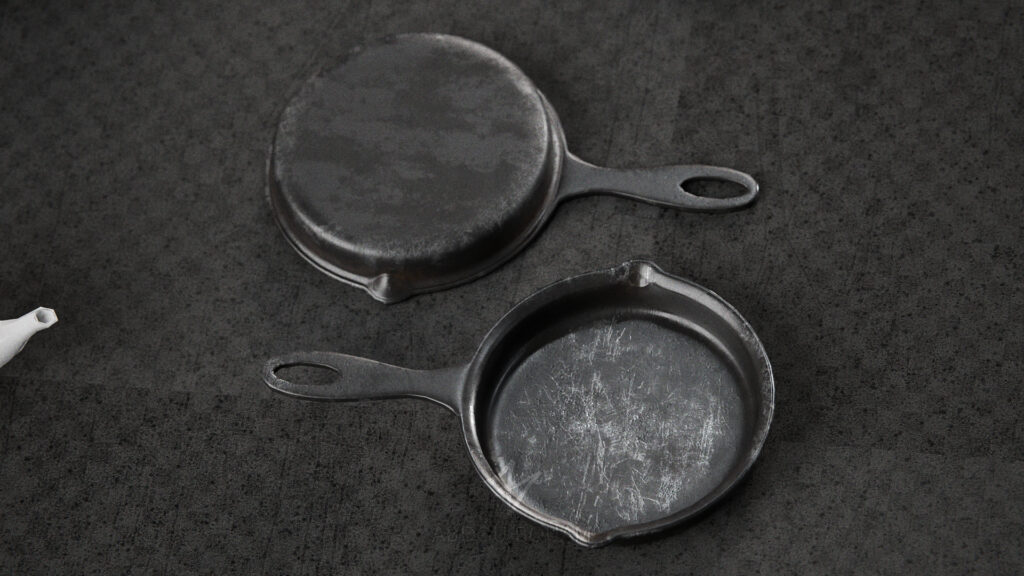
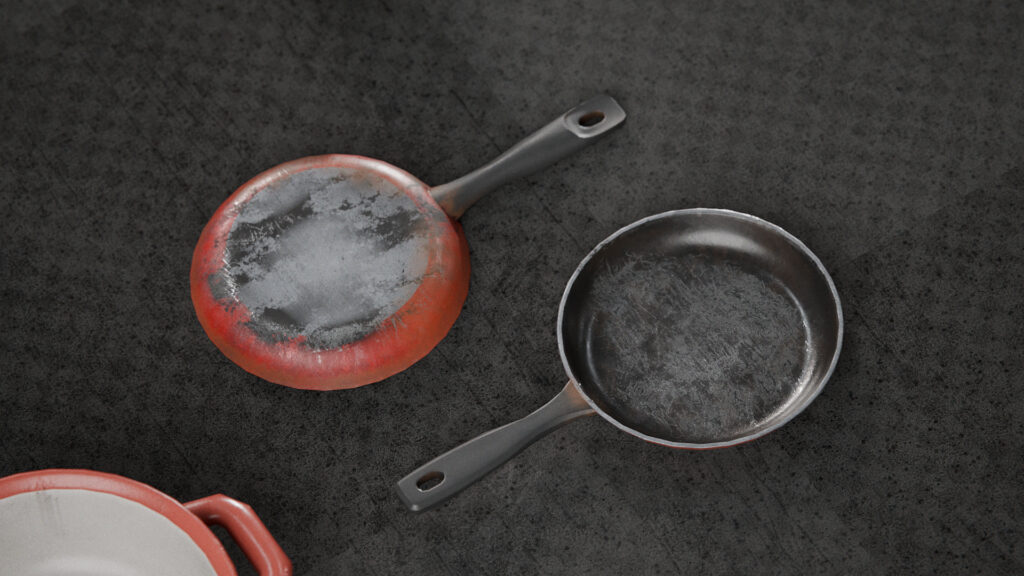
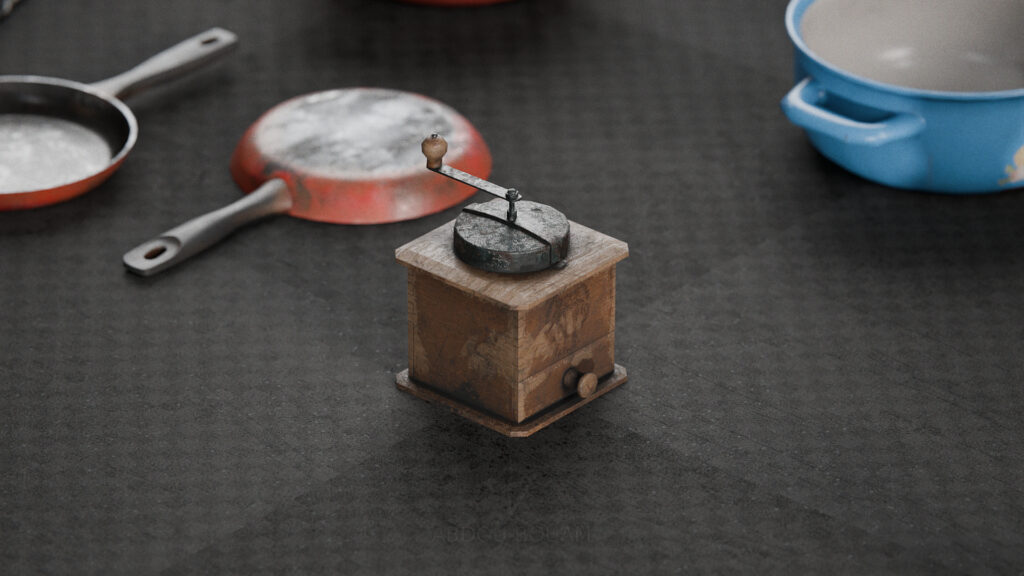
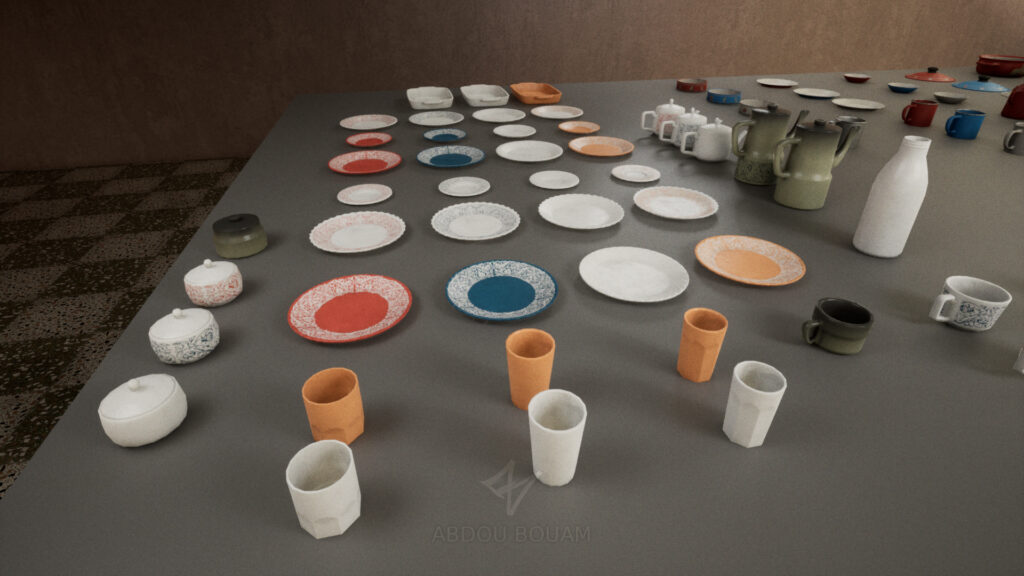
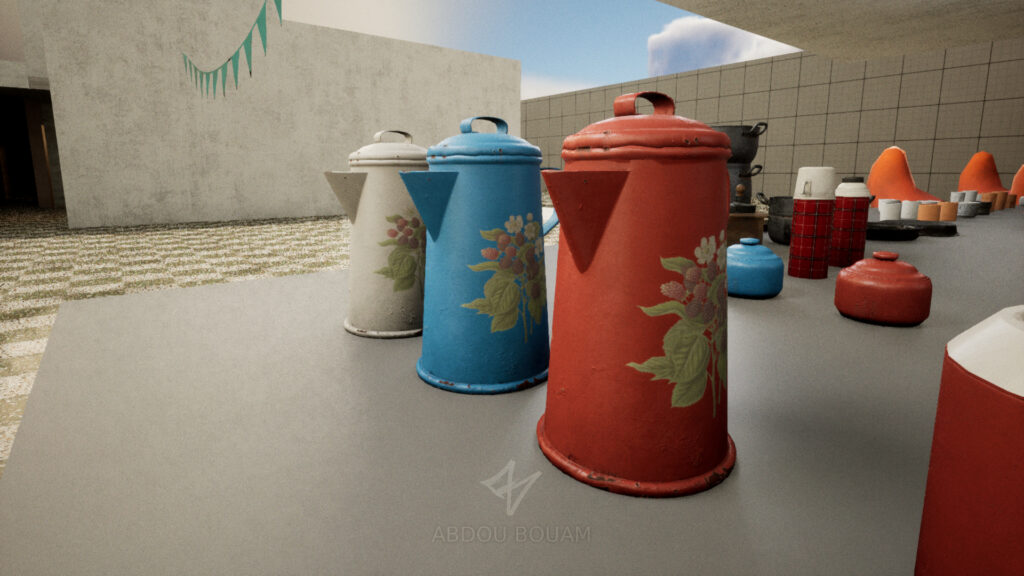
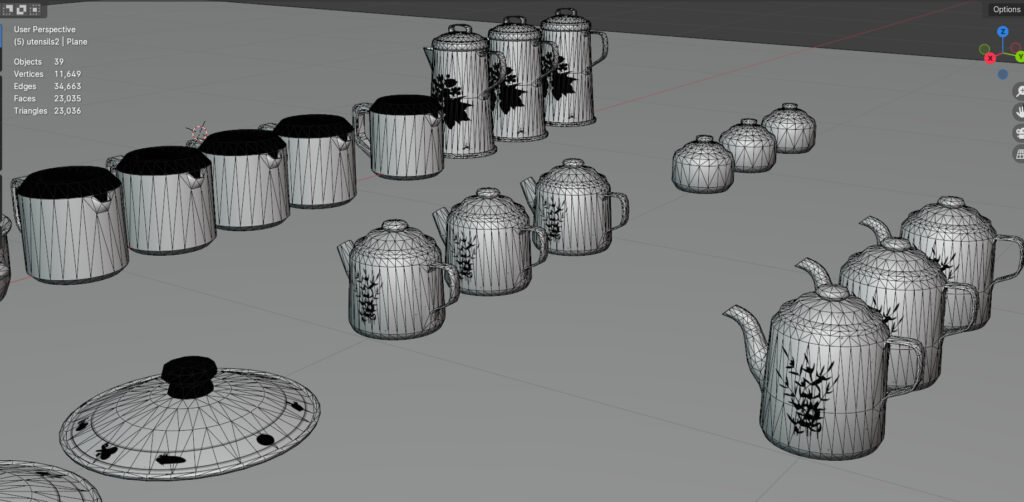
This week was mostly spent making 47 unique models of utensils and crockery, and about 100 with the variations. The are split into 3 sets, each set sharing one 4K texture set (will be downscaled in the engine to 2K later). About 500 triangles on average per model, but some are given more than others depending on shape complexity and whether I want them in closeups or not. Here are some beauty shot renders below, rendered in Blender Cycles. (click on each image to expand it)
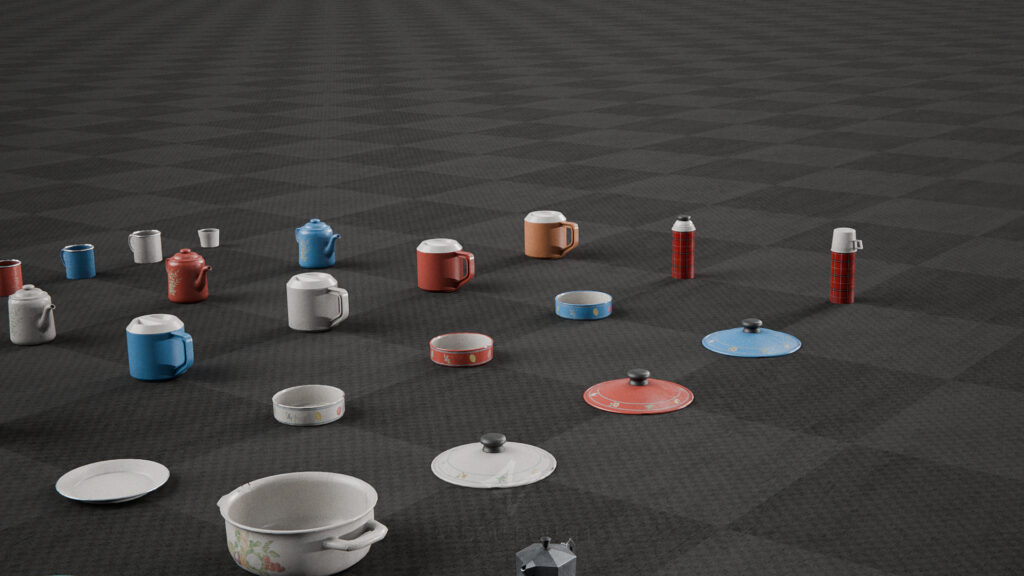
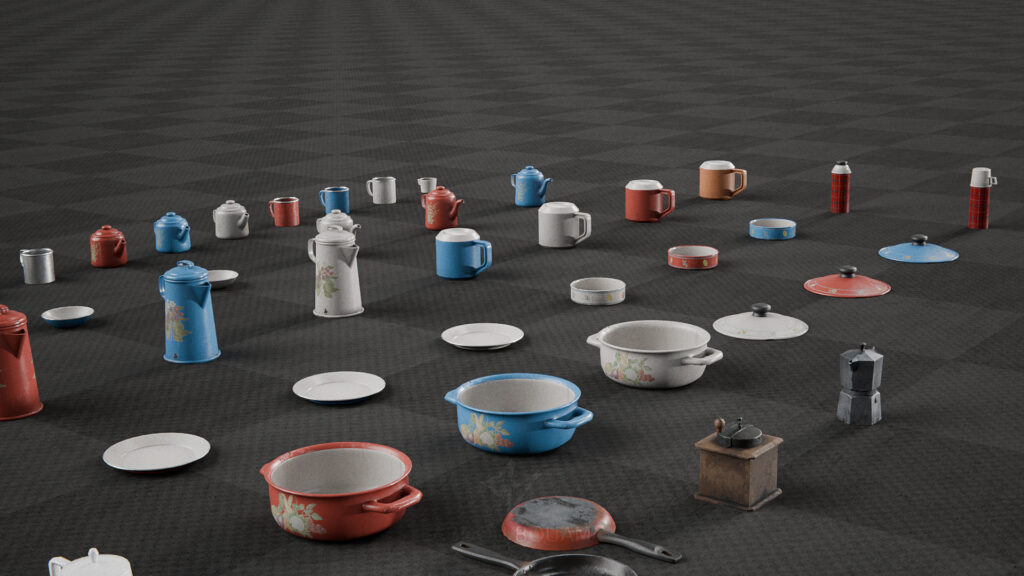
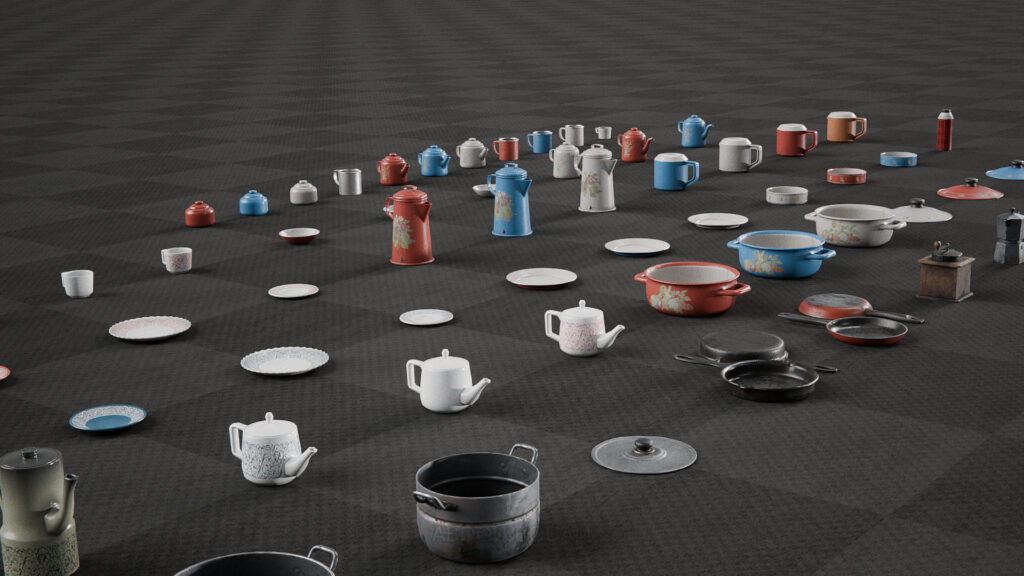
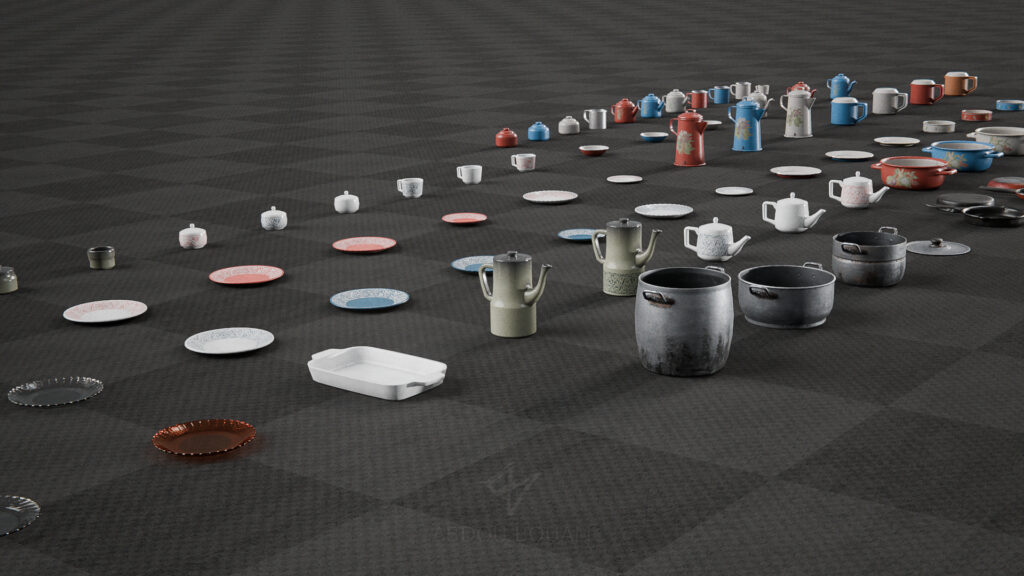


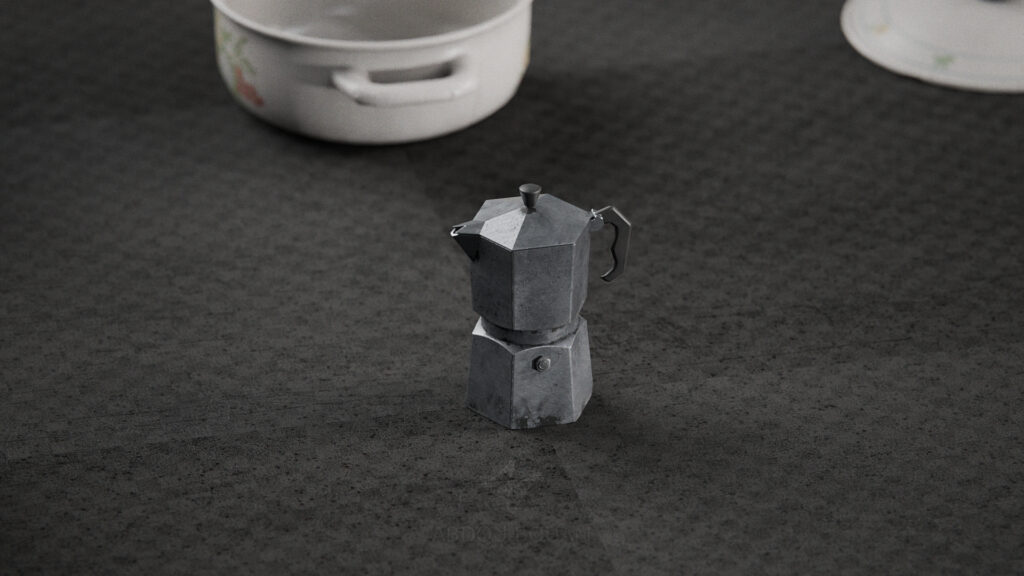
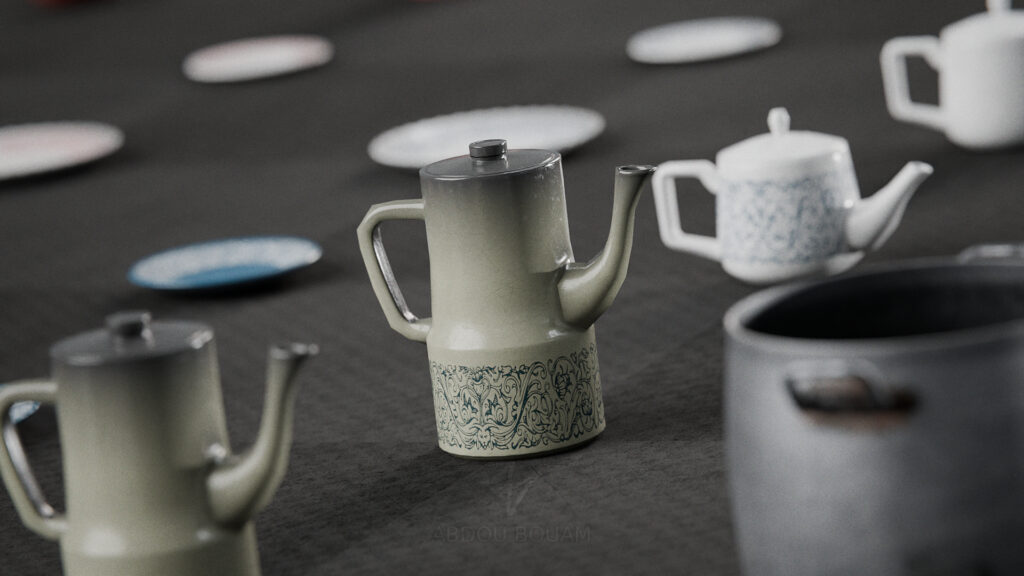
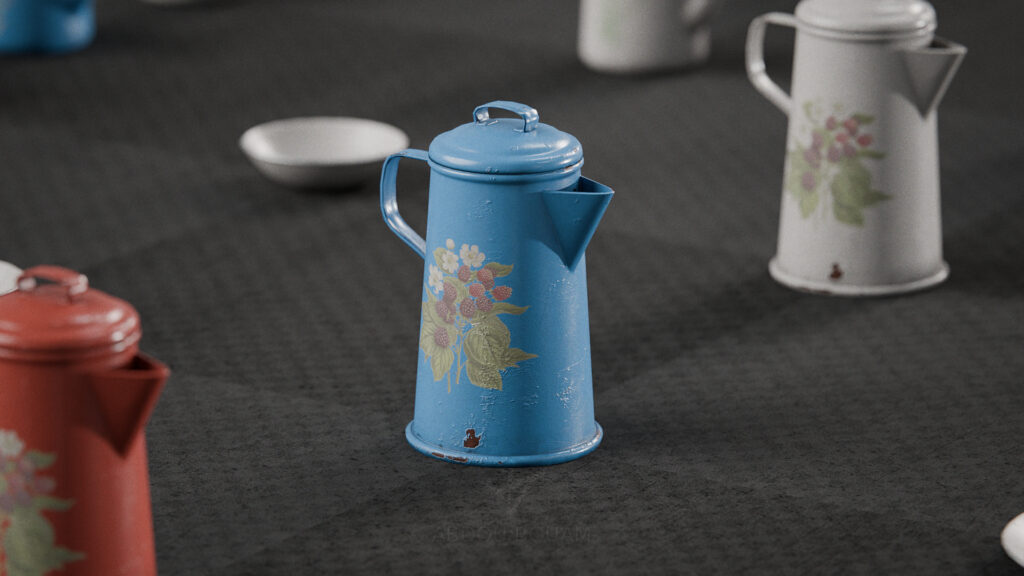
and some shots from Unreal Engine with basic lighting


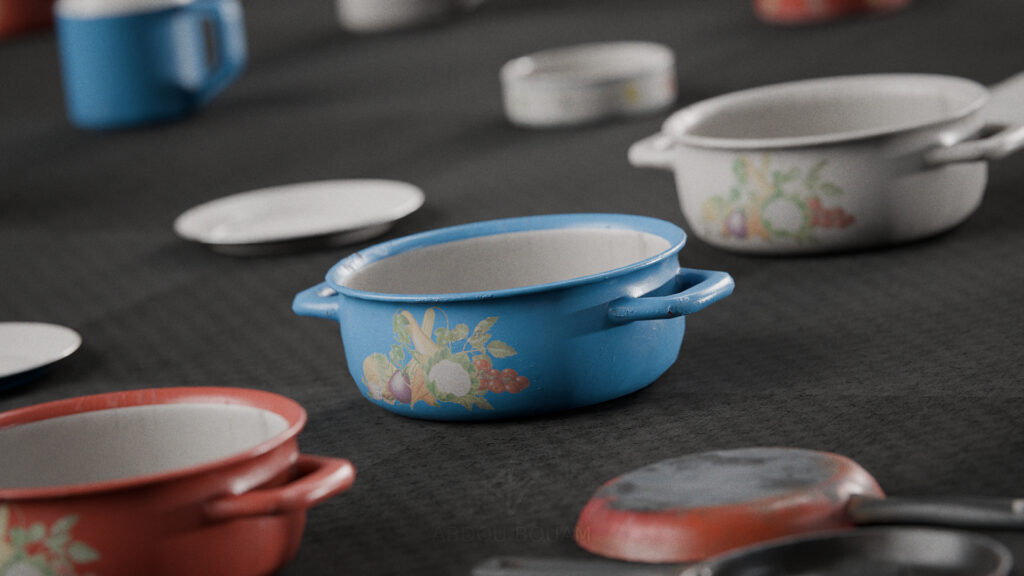
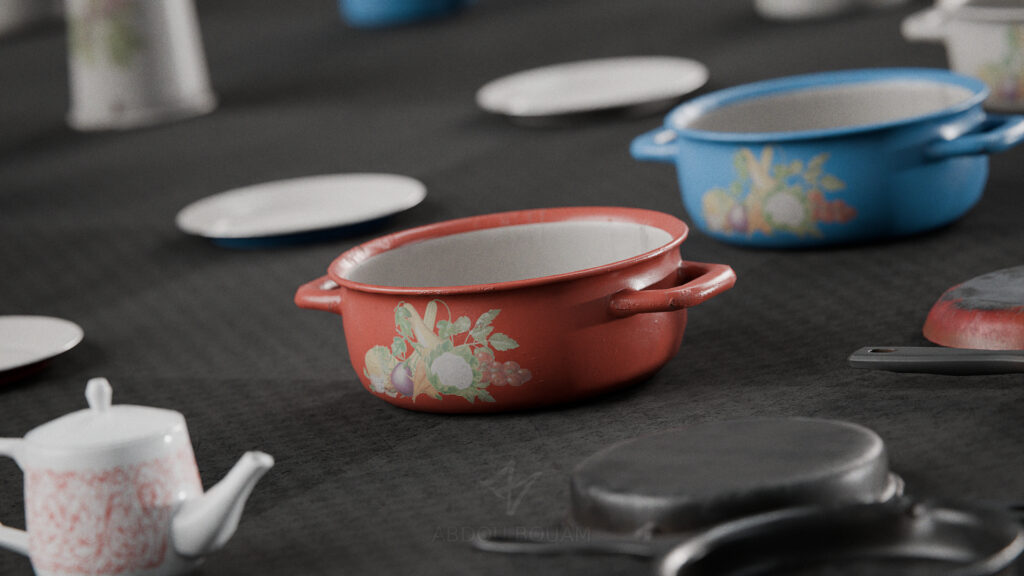
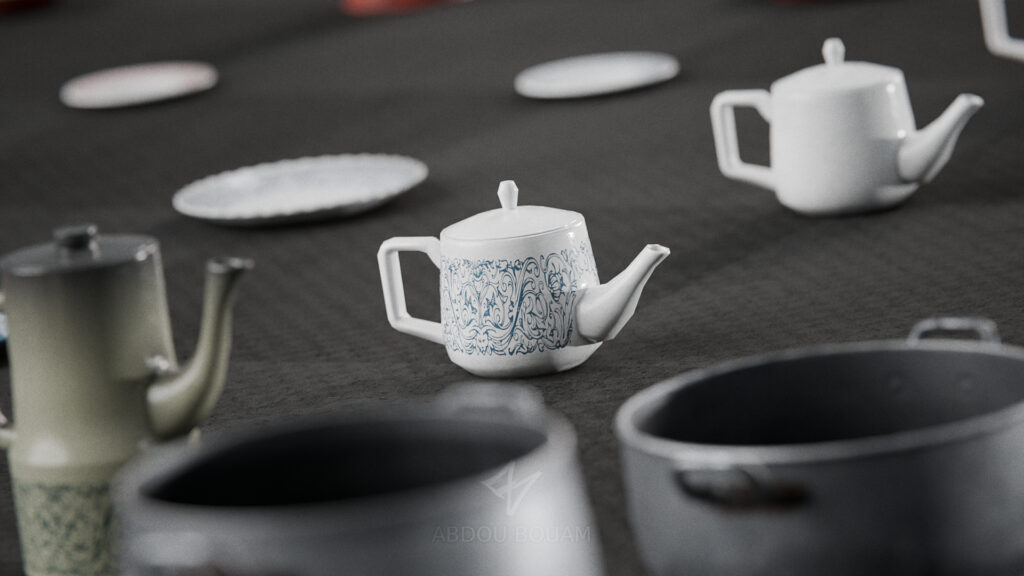
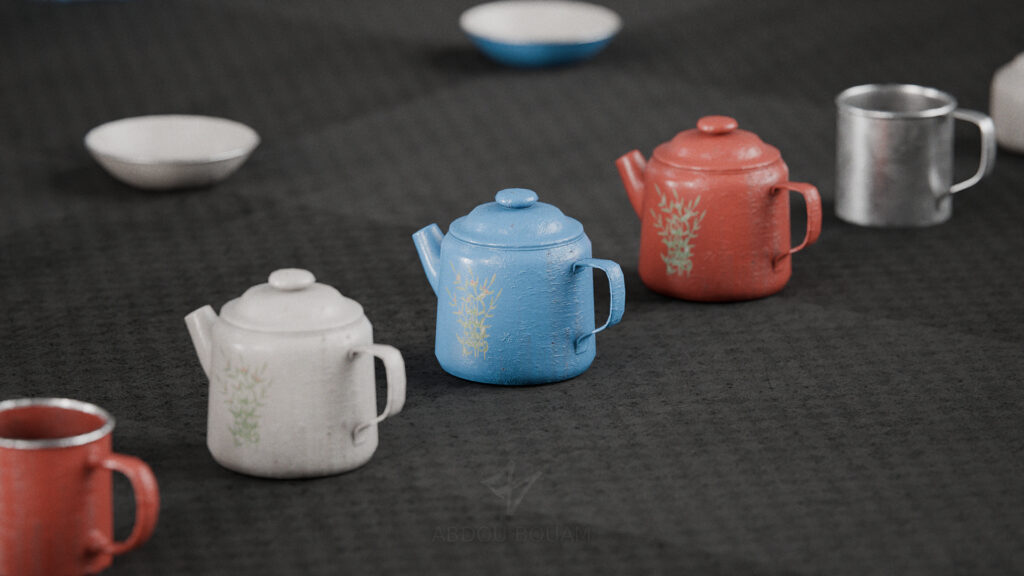
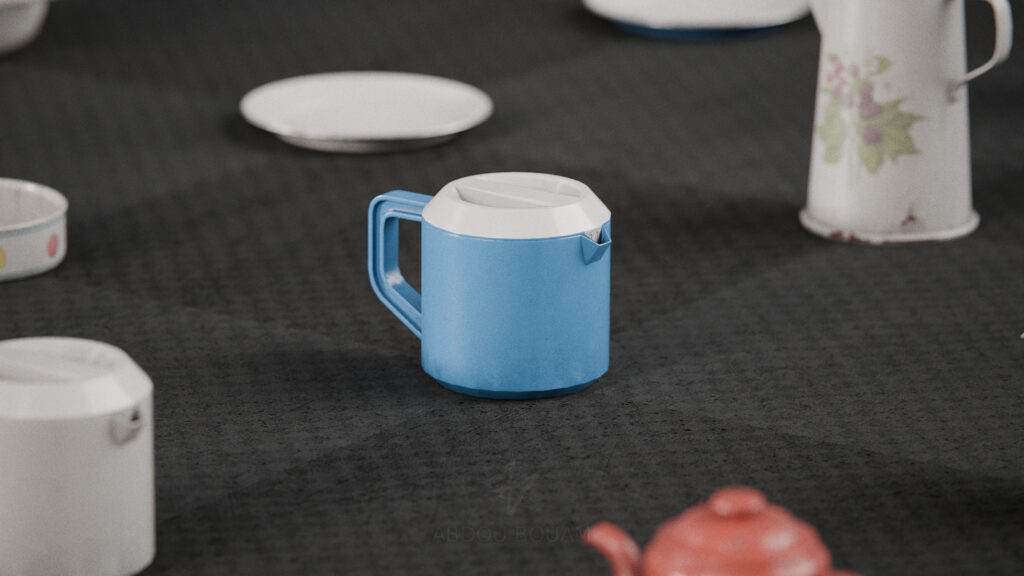
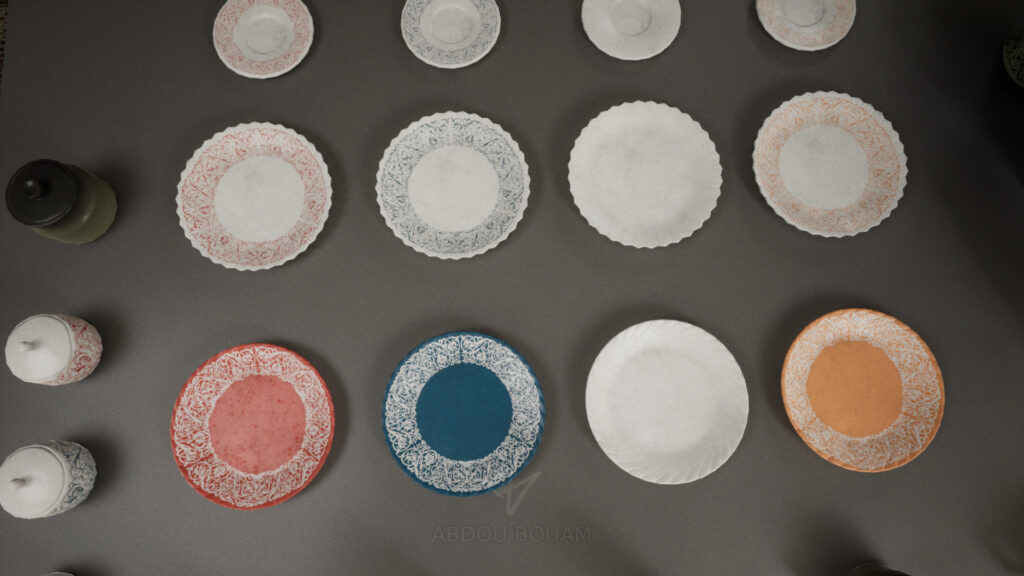
Color variation with UV Offsets
I made a UV offset-based color palette feature in my master shader a long time ago, and this is the first time I’ve used it in practice. All these models use the same material, and all the variations use the same textures, and share the same UVs (mostly)
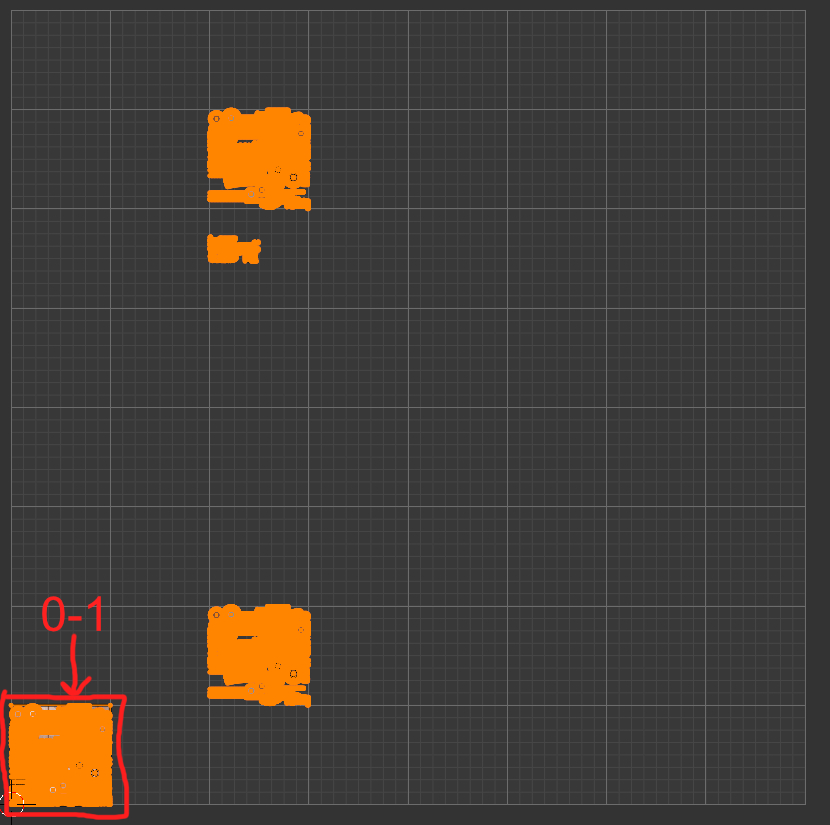
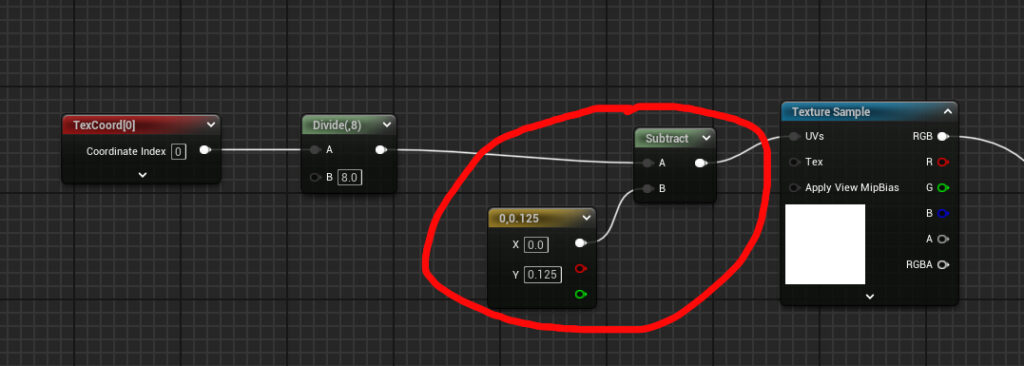
In short : I multiplied the texture palette coordinates 1/8th, so everything inside the 0-1 UV space now corresponds to 0-0.125 in the palette texture (white in this case). I multiplied that color with the original base color, but since it’s white it does nothing.
Now if I move the UV’s of a certain part of the model to the right by 1, the original base color will look identical, but now we’re “selecting” the dark purple color, so the base color is multiplied by that.
For the best results, the original base color has to be a shade of white (with dirt and scratches and all that)


additionally, I used a mask texture when creating the textures, to further limit which parts of the model are affected by this color change. This allows me to only recolor a motif or parts of the model, excluding drawings, rust, exposed metal, and anything else I do not want recolored.
Important notes :
- Disable texture filtering and mip-maps for the color palette texture
- Texture compression in the game engine will affect the colors of the palette, because it has a limited amount of colors it can hold in any 4×4 block (4 colors max for each 4×4 block of pixels, in the case of DXT3 compression. Read more about DXT compression here ). You can disable texture compression for that, but I just scaled it 4x in an image editor, so instead of 8×8 image for 64 colors, It’s a 32×32 texture. The memory usage is so insignificant that it doesn’t really matter, I chose this method for maximum compatibility with shaders.
- Unreal Engine’s UV origin is top left, not bottom left like any other 3D software, and while this usually works seamlessly, scaling down does not work the same way, and therefore the wrong colors are picked, so you have to compensate for that in the shader. The setup assumes the color palette is 8×8 (Colors, not pixels. Pixel count doesn’t matter). If you want to use 4×4, then change the values to divide by 4 and then subtract 0.25 instead (0.25 is 1/4, 0.125 is 1/8)
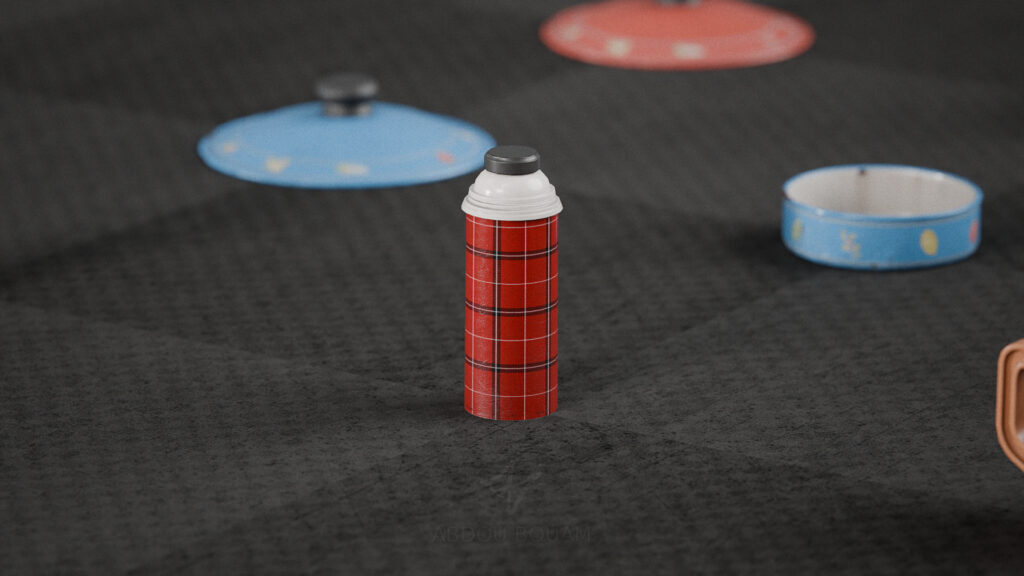
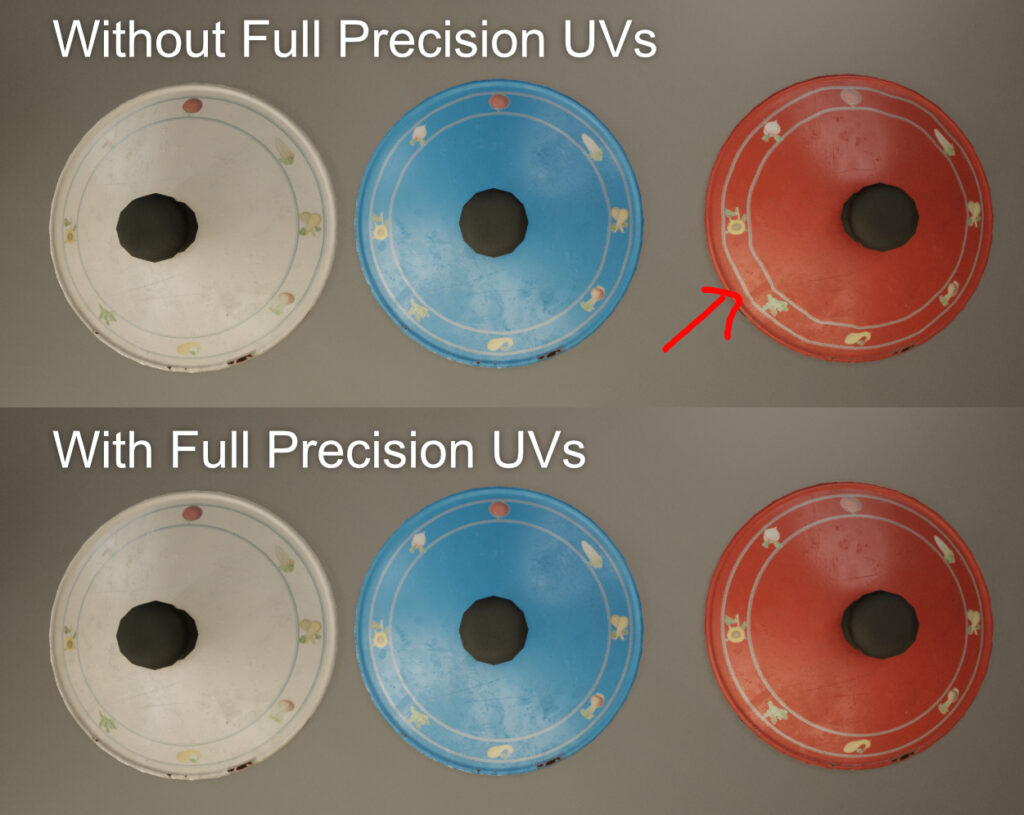
- Since we’re using UVs well outside UV space 0-1, and many objects share the same UV, precision will be an issue in the form of texture warping the further away you get from the UV origin (ie: textures at the top, the right, and especially the top right of the palette). To fix this, just enable “Use Full Precision UVs” in Unreal Engine. Notice the warped white lines in the red object without full precision UVs.
An alternative workaround is to limit the palette to 4×4 only, or instead of the default being mapped to the bottom left, they should correspond to the center, therefore leveraging the precision of both positive and negative UV values without getting too far away from the origin. However for now this will do. I will revisit this if I find it causing performance issues in the future, but I highly doubt it
I also have an additional color input as a material parameter to recolor everything masked, similar to the UV offset trick, but it applies to the entire material. I can use either one of them, or both all at once. I find the UV offset most useful for models that share the same material and textures and you want to have individual control over the variations without having to create a material for each one of them. The per-material recoloring can also be useful for minor adjustments in hue or brightness, or if the model is a hero prop that has its own material that isn’t shared with anything else I don’t want recolored.
I learned about the UV offset technique from the video below from the developers of The Ascent. I found it very clever and useful, although I modified to suit my needs more. I recommend checking the video out, it showcases even more clever tricks.
Other stuff
I read the Unreal Engine documentation a little bit and followed the narrative design course, a bit of story writing, and thought about some designs for the save states, dialogue system, events, and similar. Nothing of importance to report on individually.
That’s all for Devlog week 10, thanks for reading!
4 thoughts on “Devlog Week 10”
Looks amazing and thanks for all the useful tips and information.
You’re welcome!
You’re doing better on your devlogs than I am on mine XD That uv map looks like both a great idea and a headache x_x (I hate uv mapping XD). Everything looking real nice as usual 🙂
Thanks!
I have to do UVs anyway. Moving something one or two spaces to the right and/or up is nothing because I already have UVs and textures made by that point, literally taking only a few seconds lol