Last devlog of the year. Here’s what I did the past 2 weeks.
Blockouts
I worked a bit on the starting area of the game. The area is relatively modern compared to the rest, so the roads are paved and accessible by cars, and the buildings are modern. The player will wake up in a clinic, so I also included the room with it.
The area also includes a small elementary school and a few more administrative buildings.
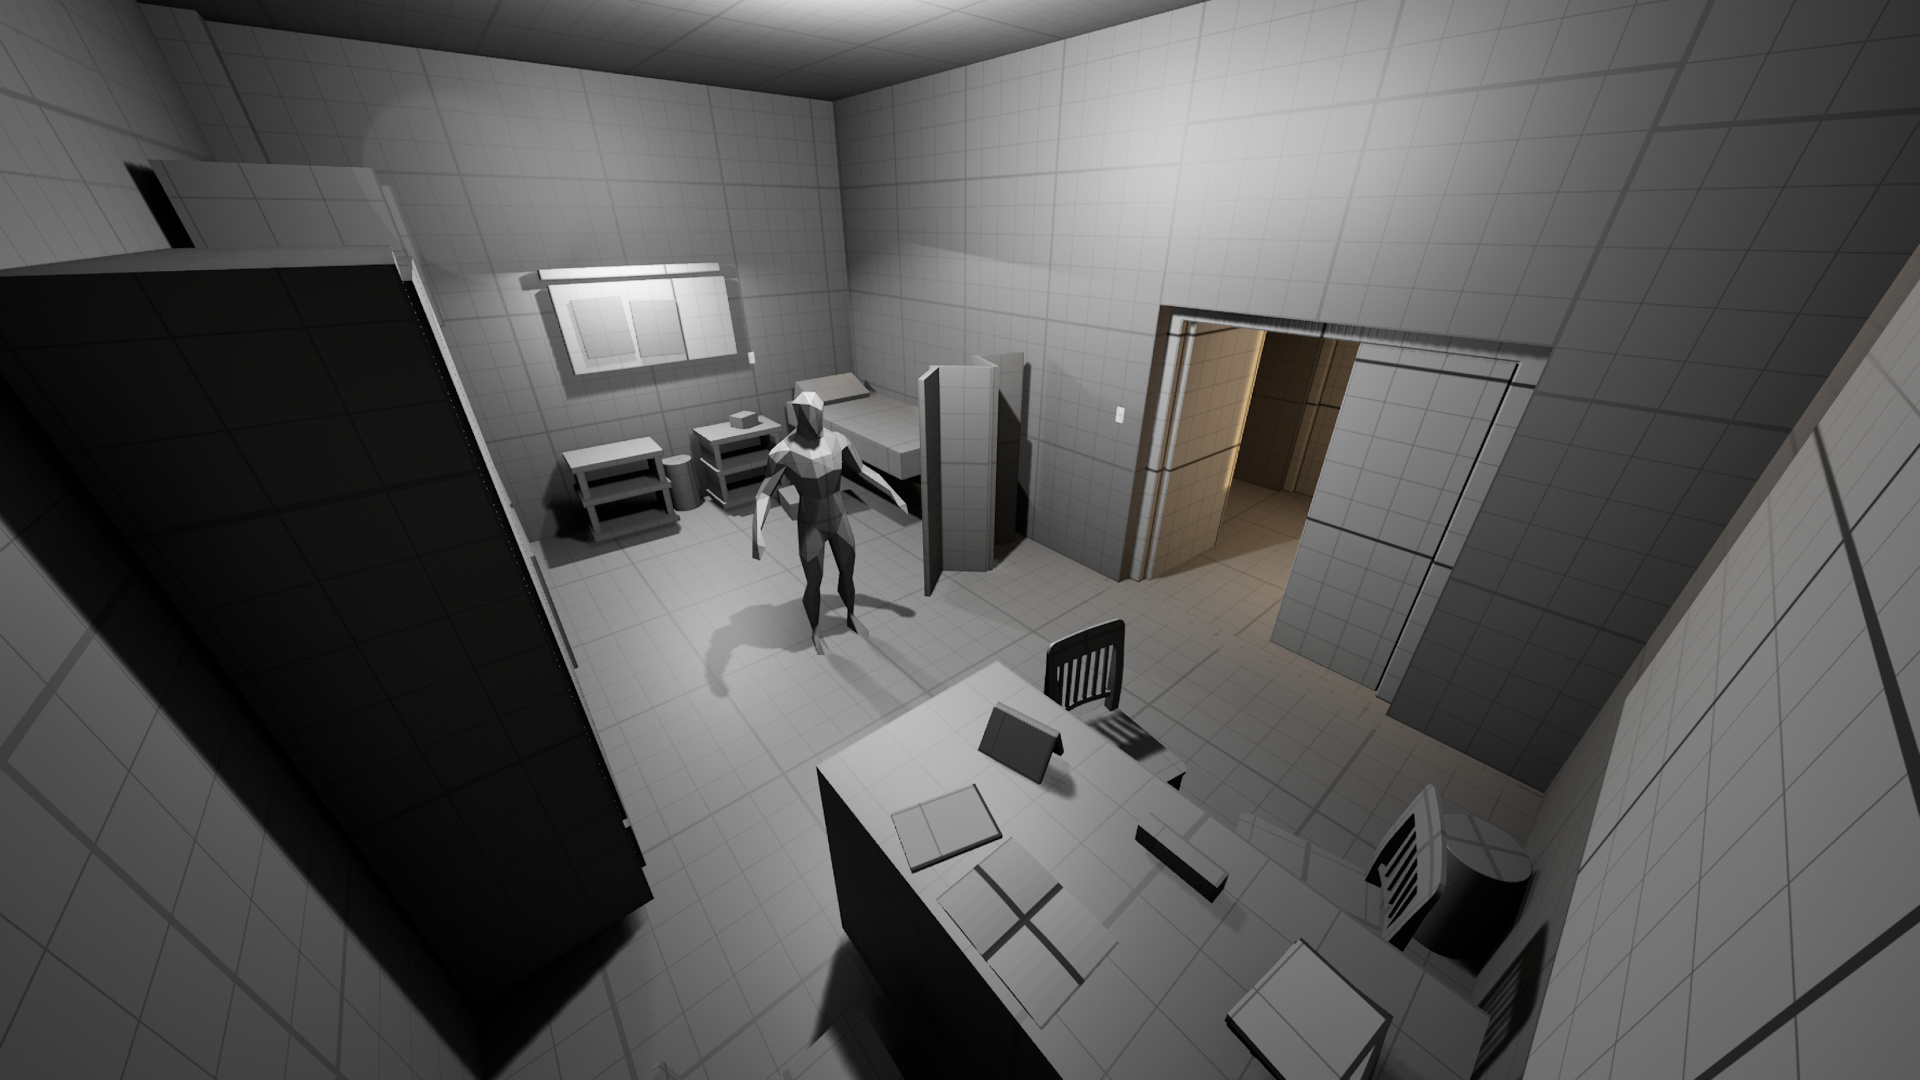
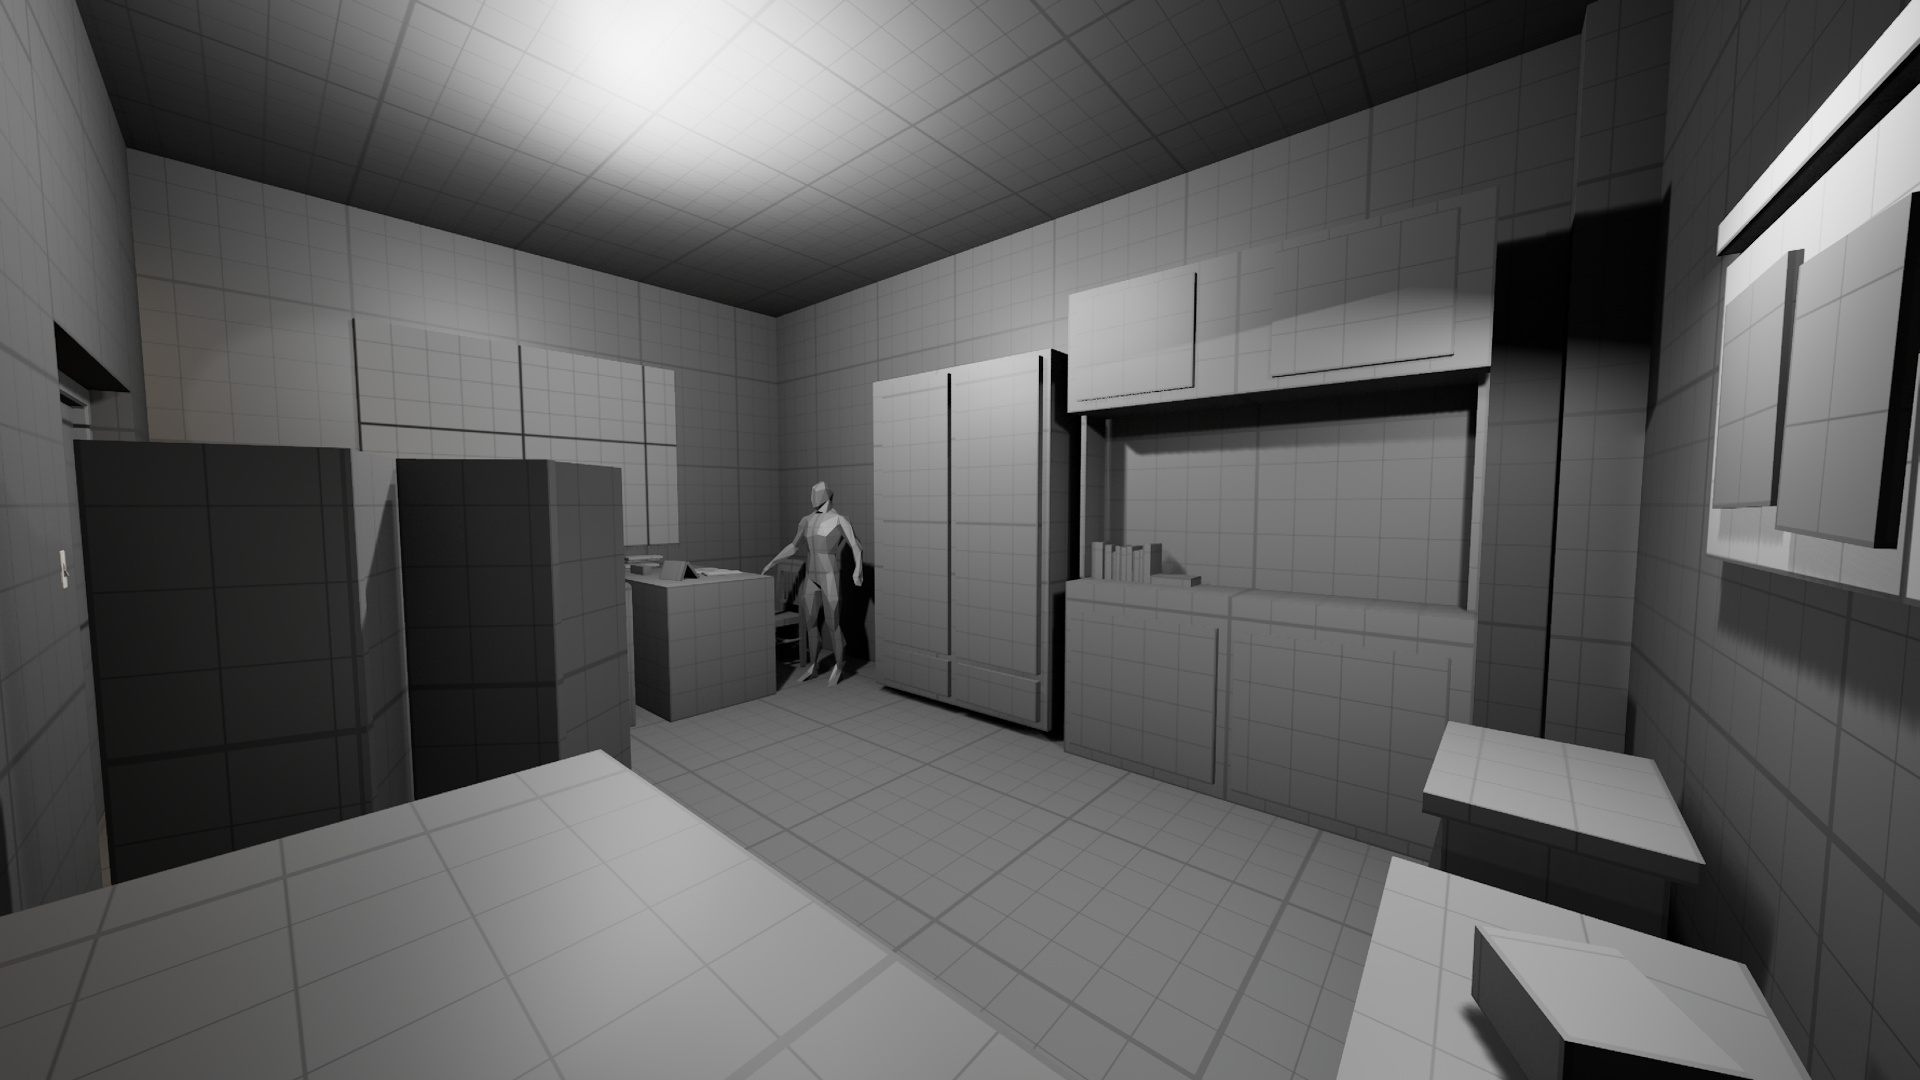
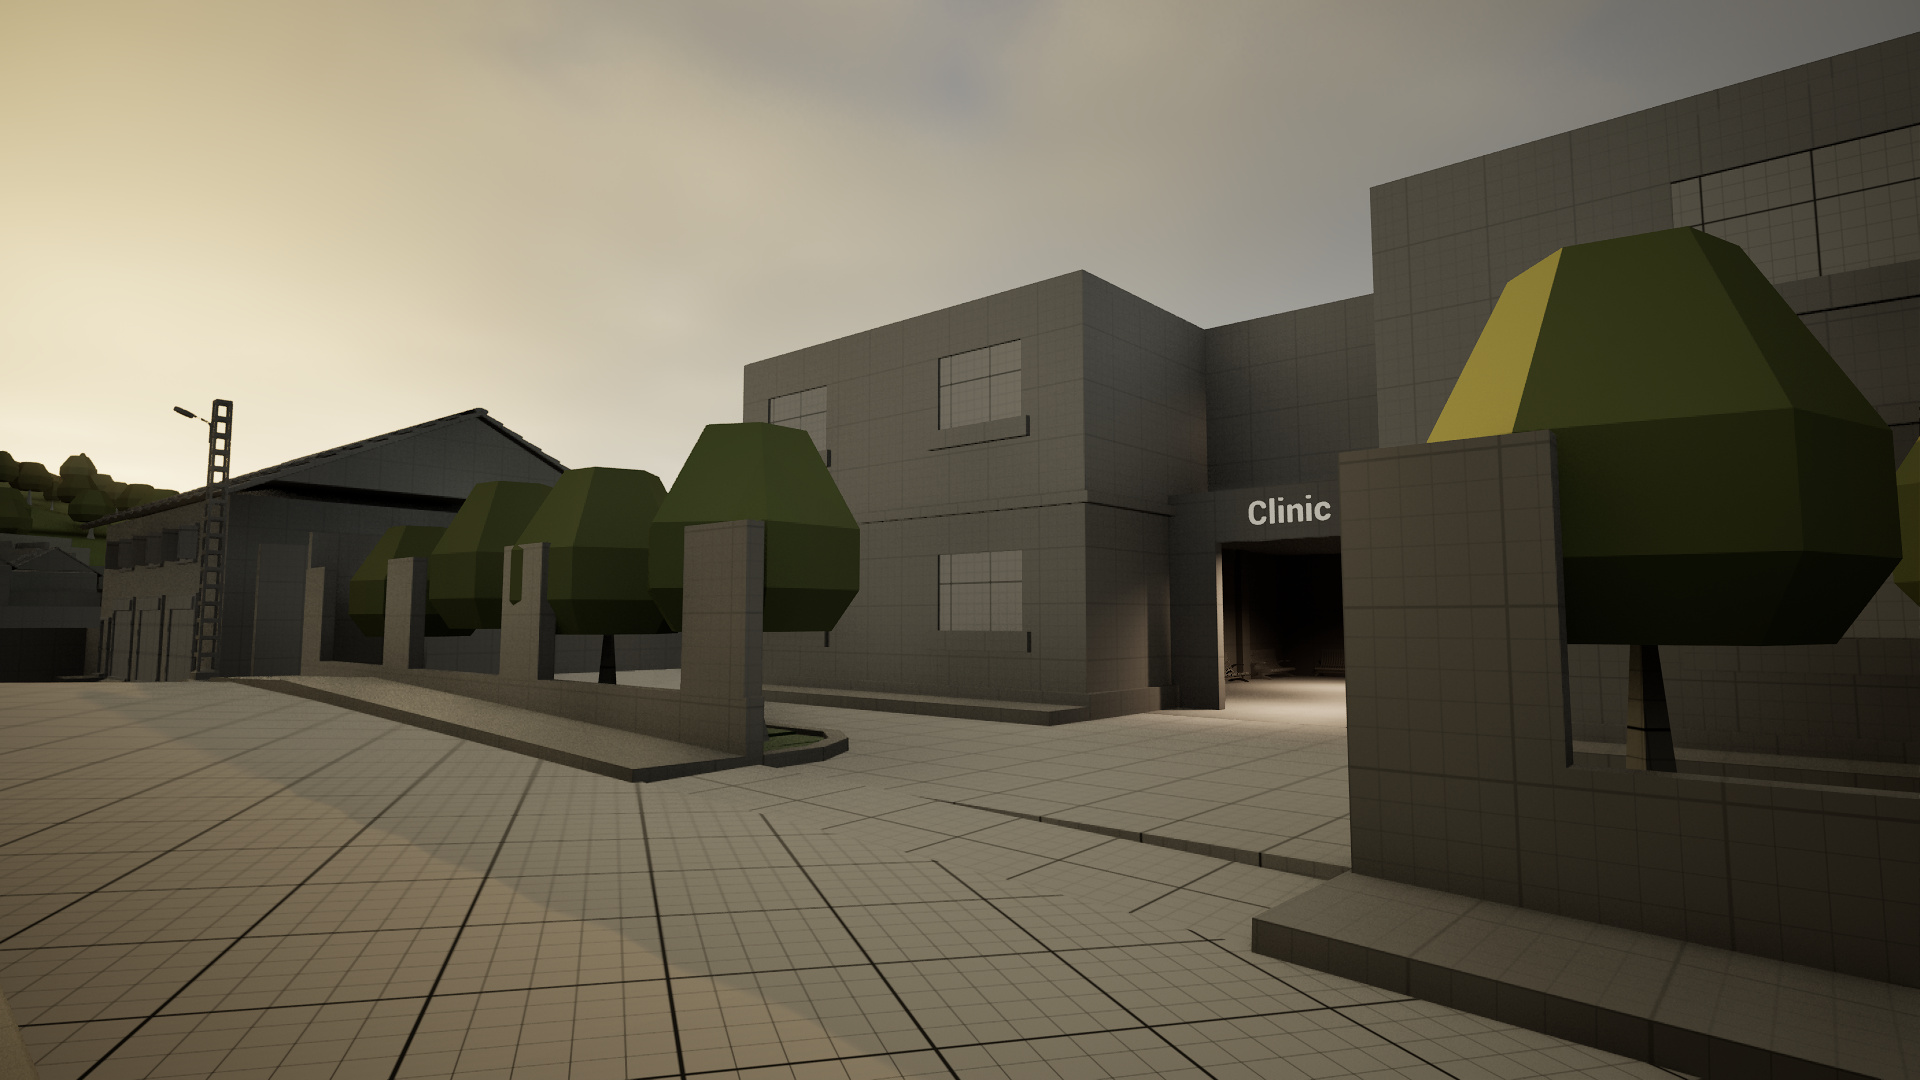
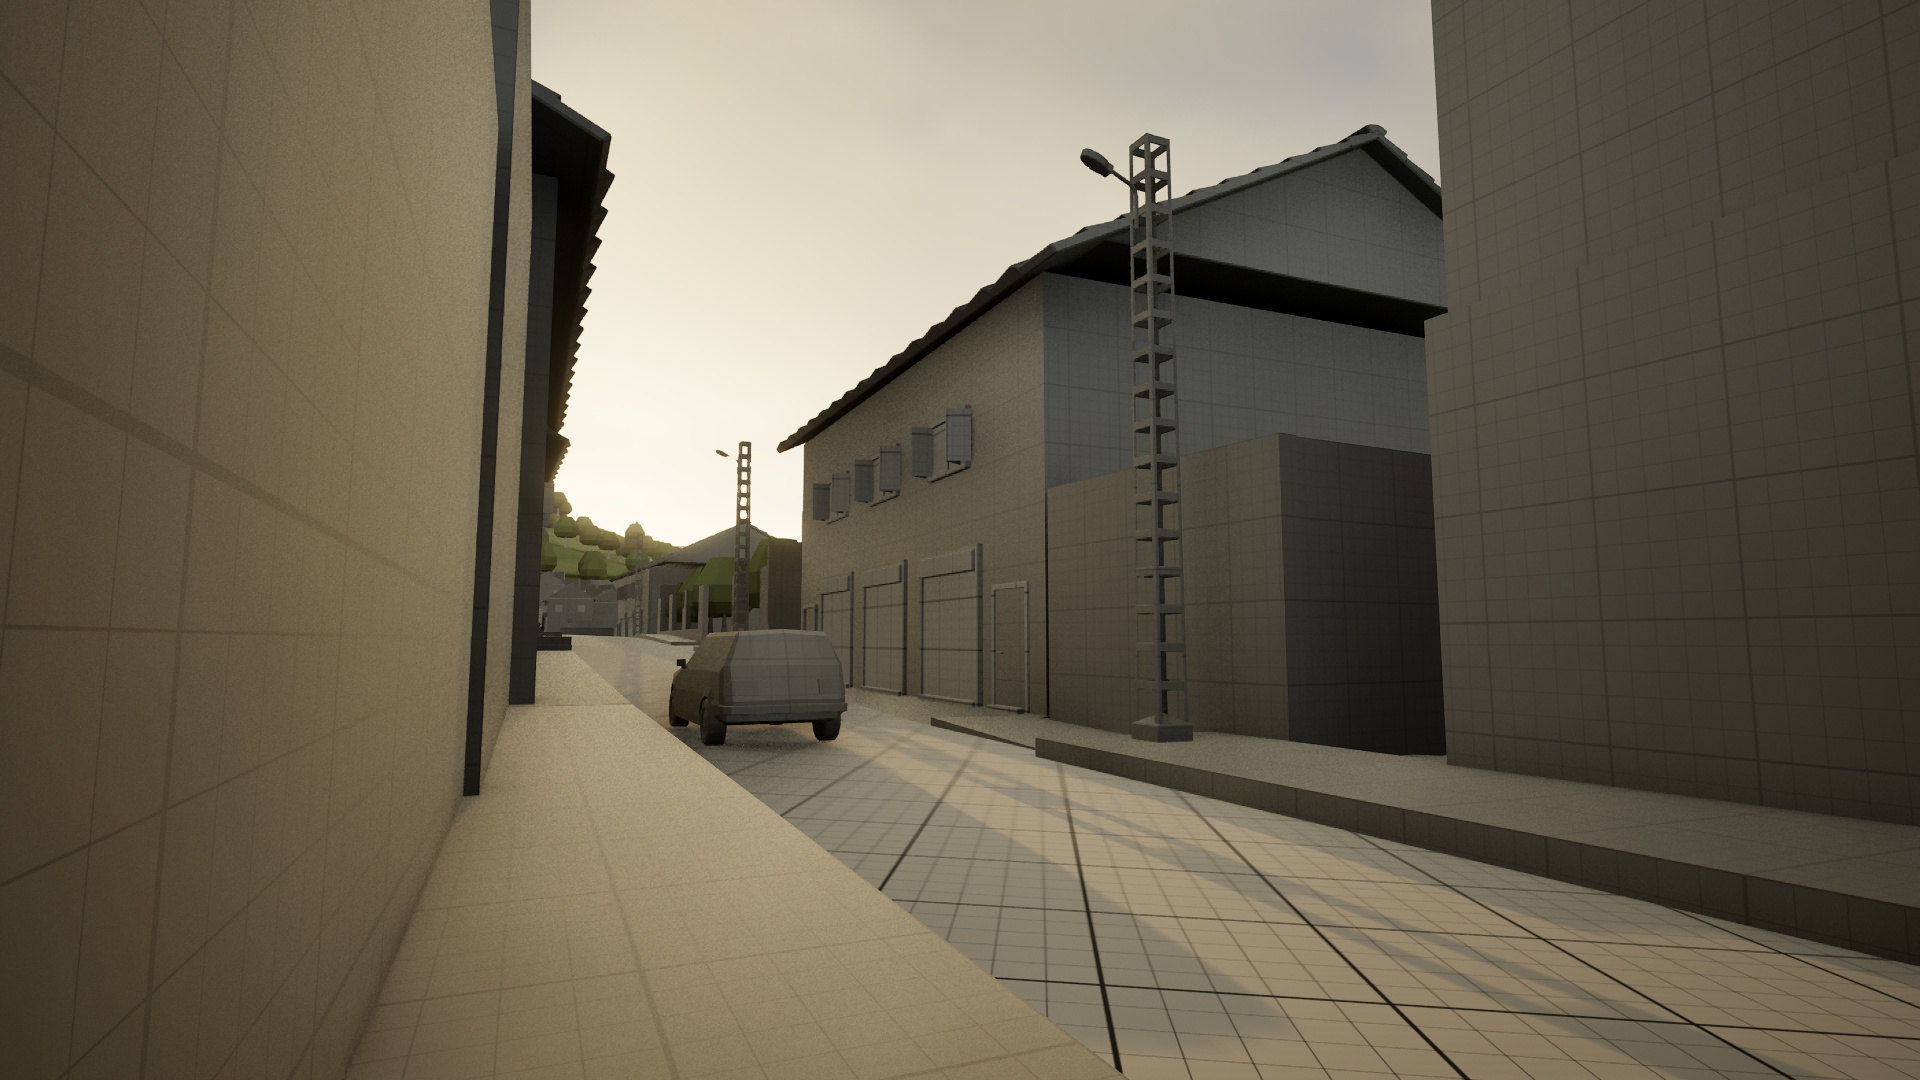
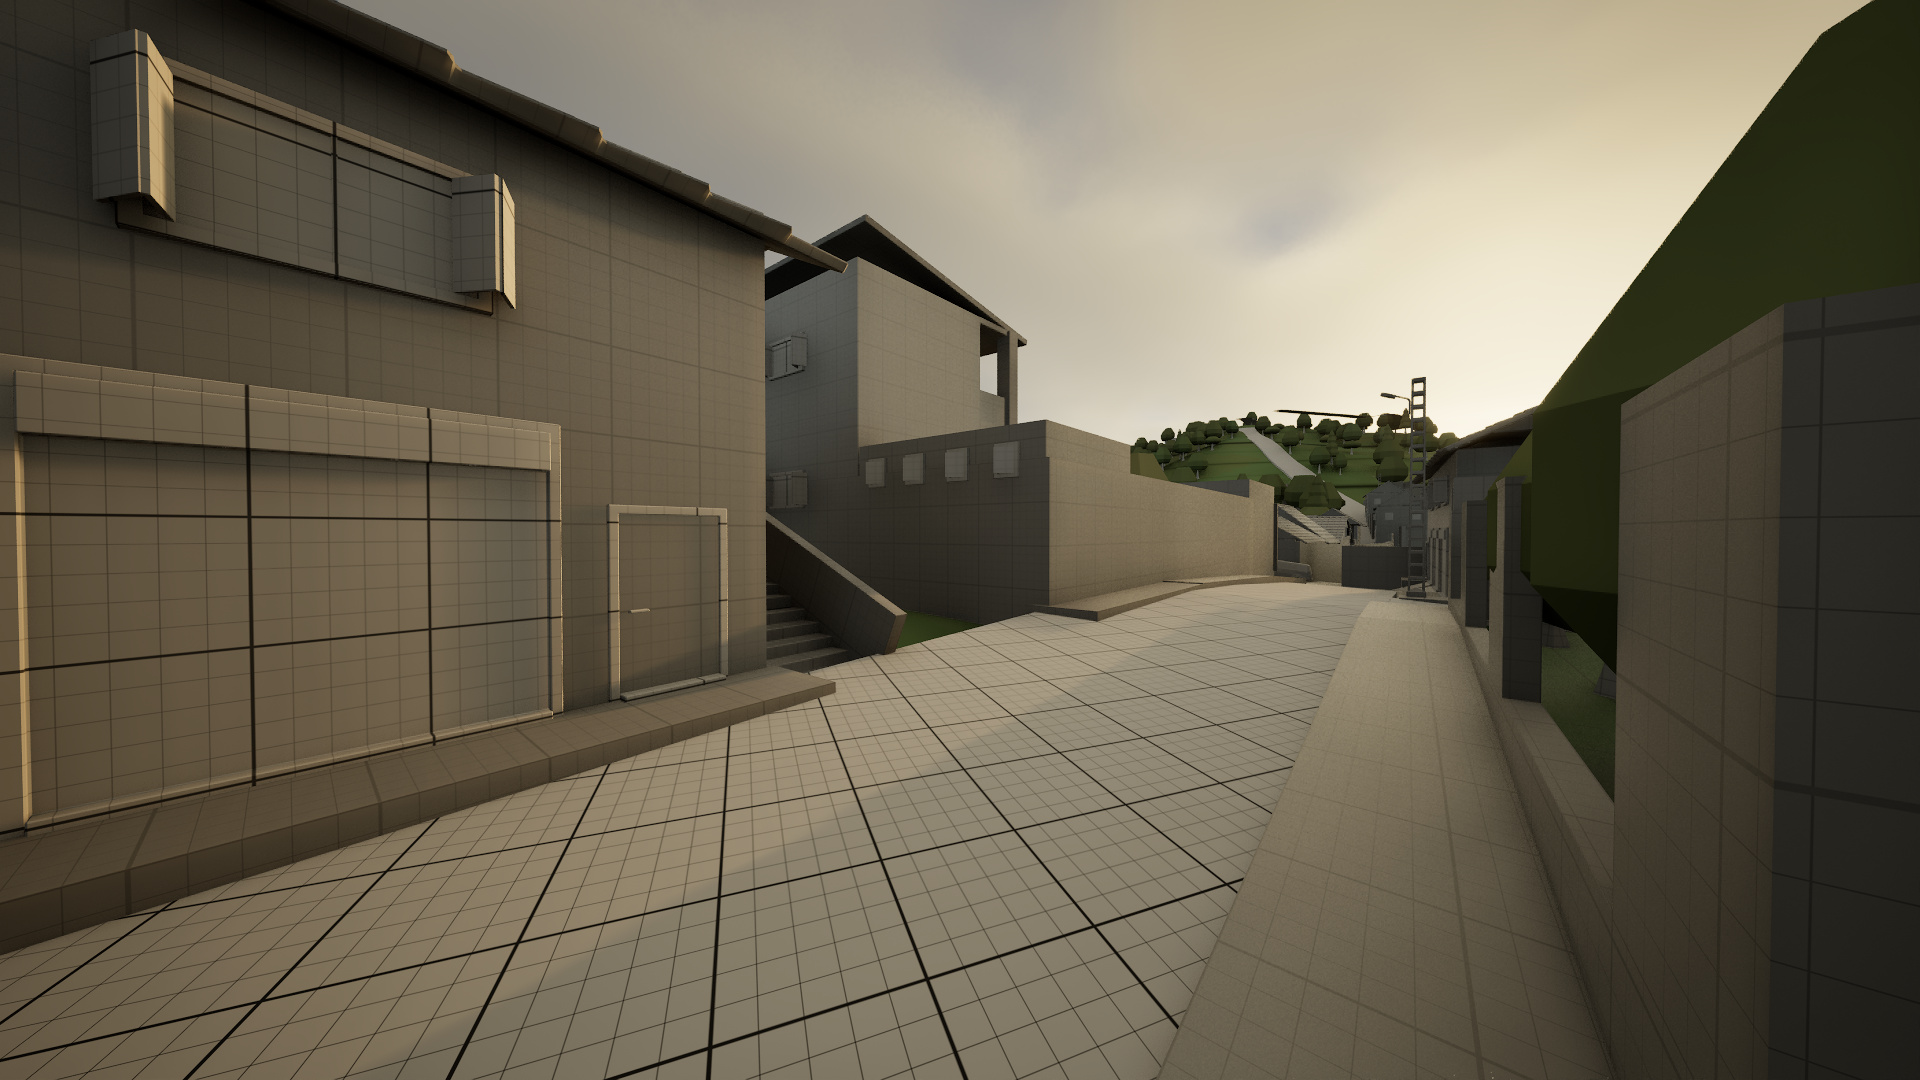
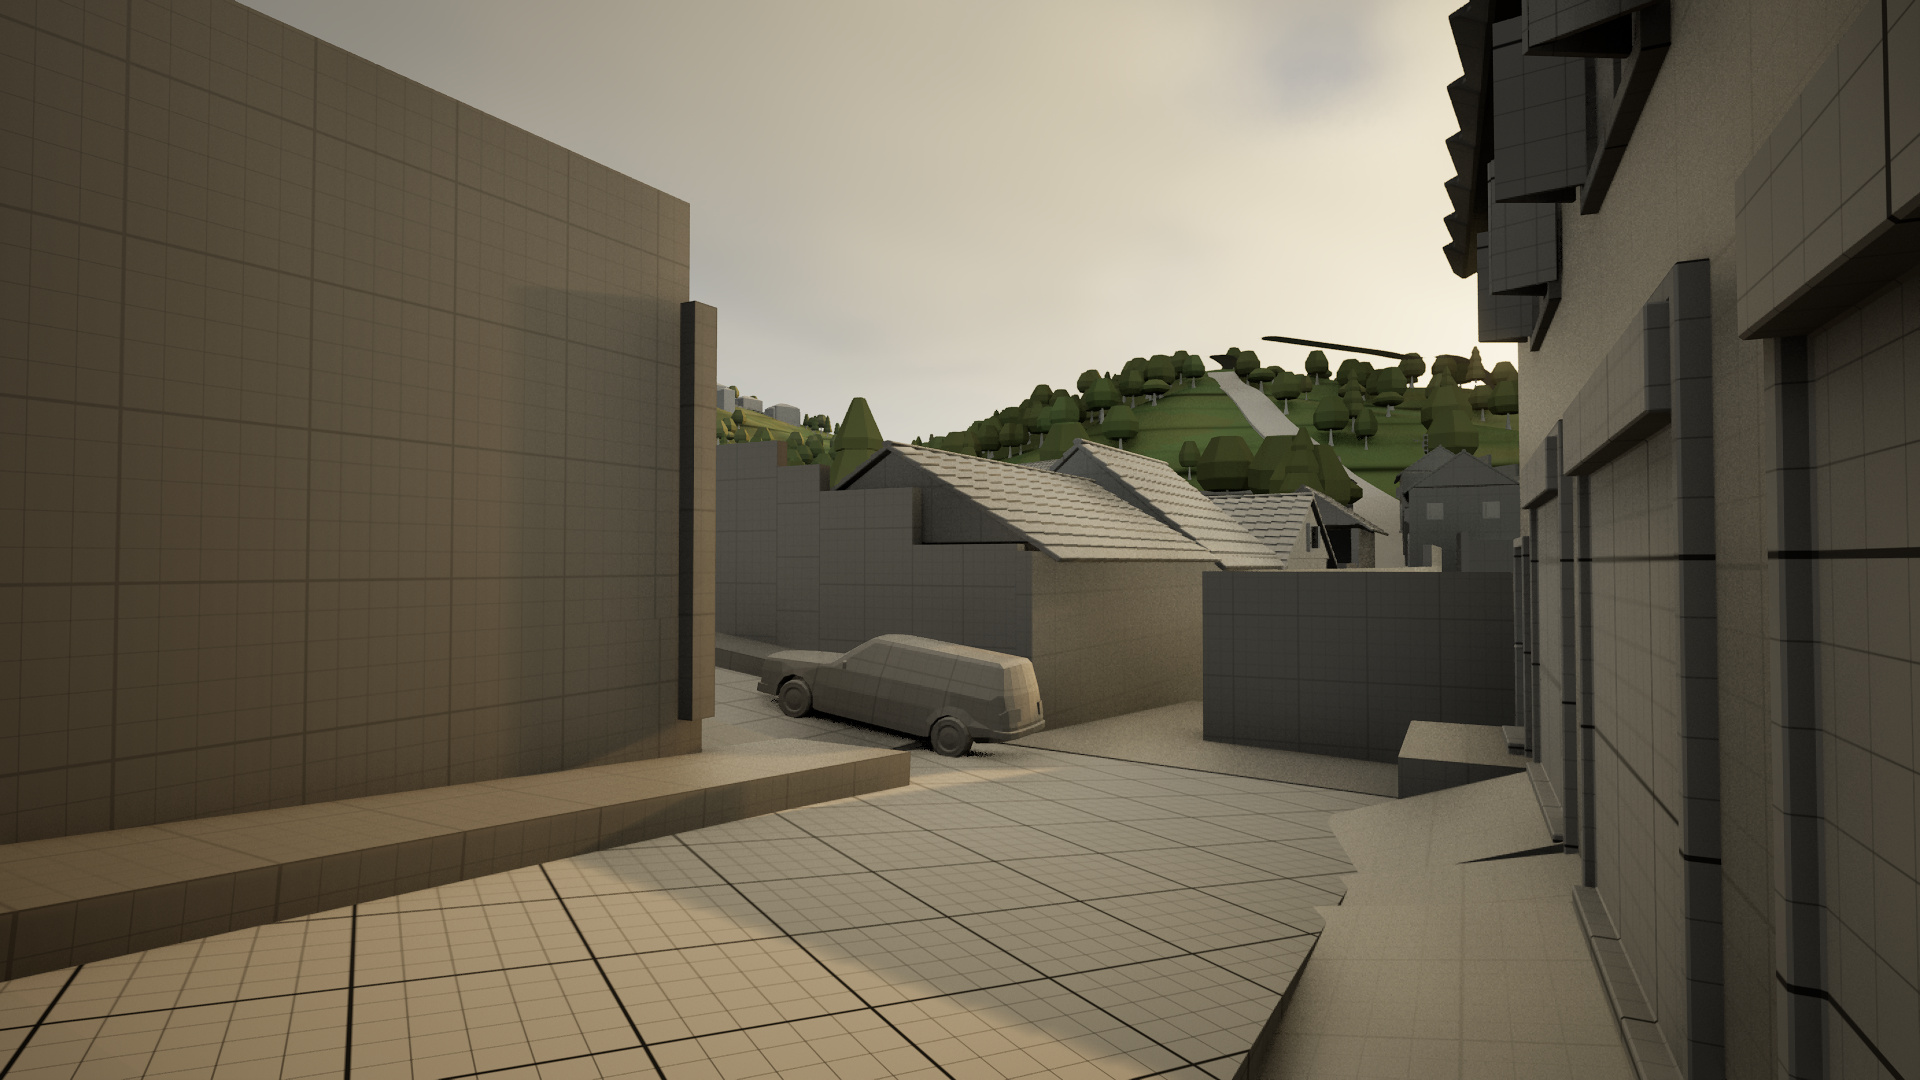
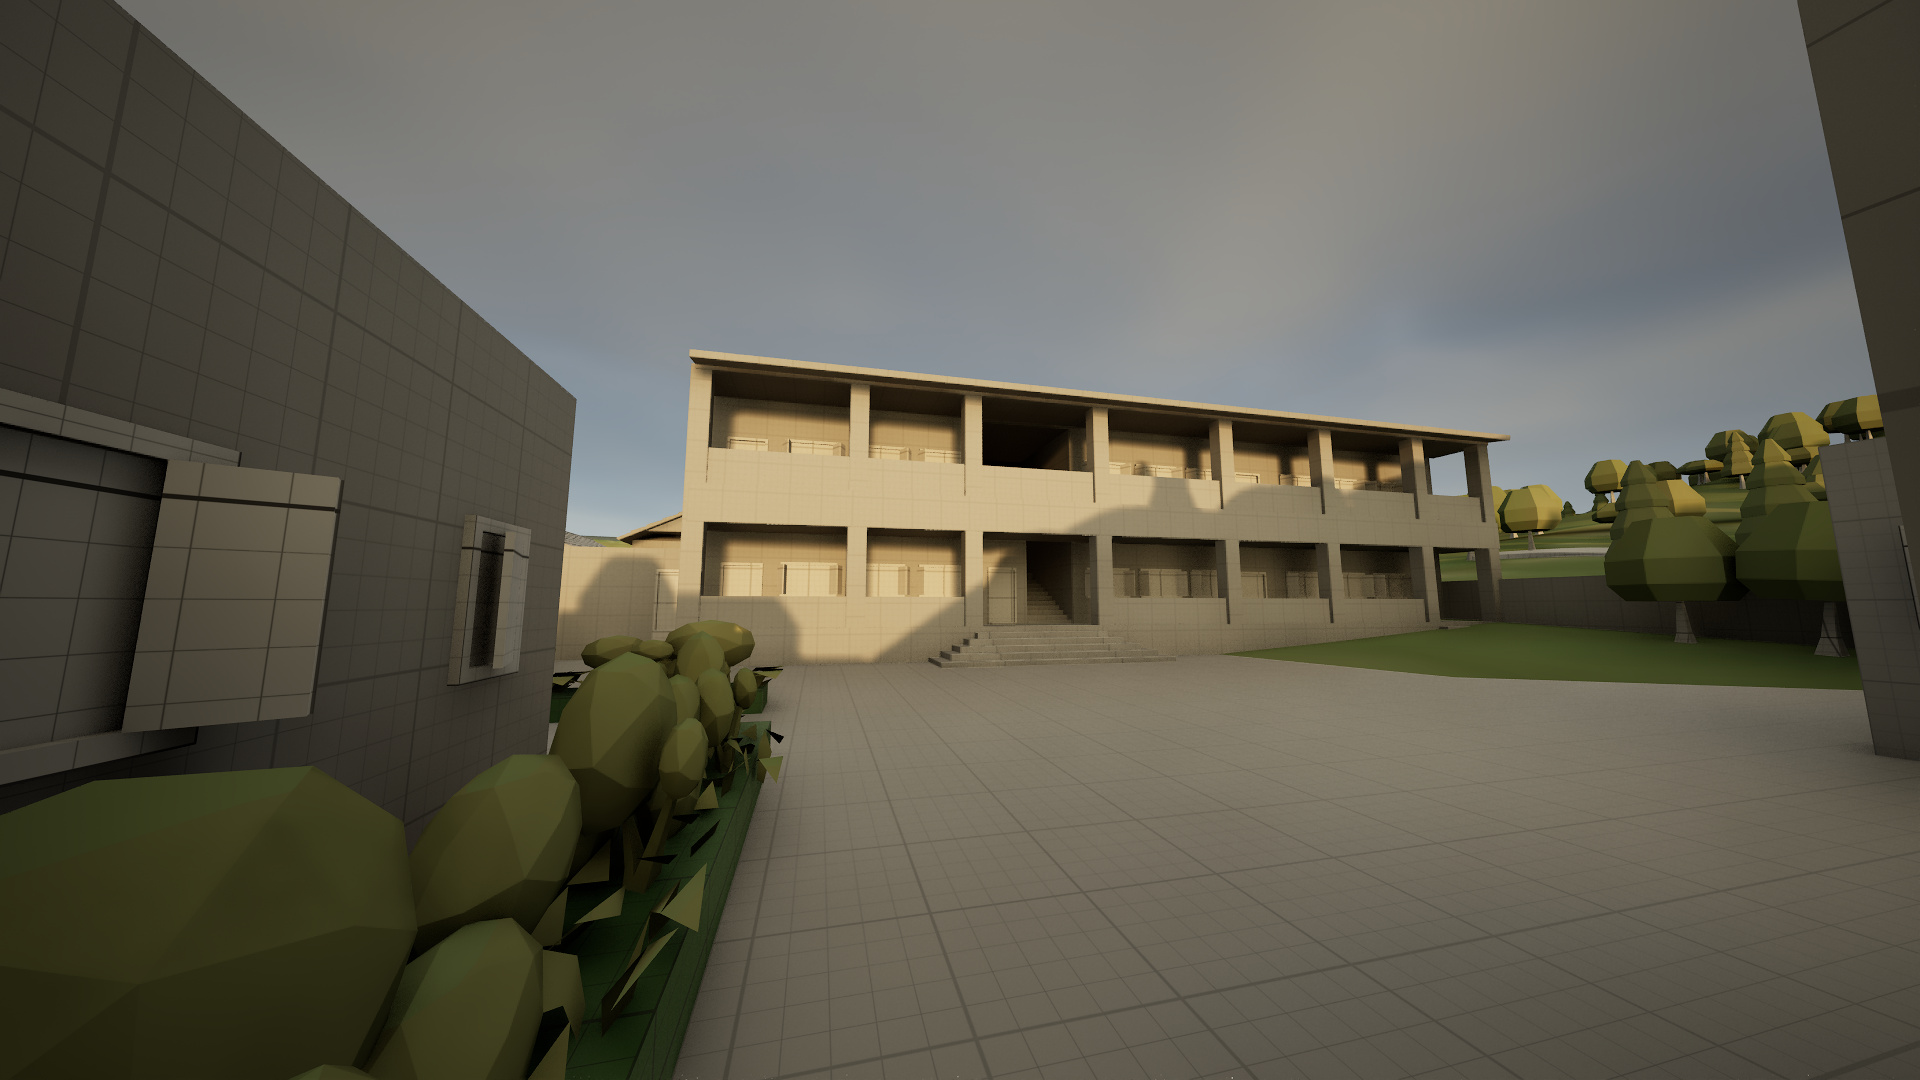
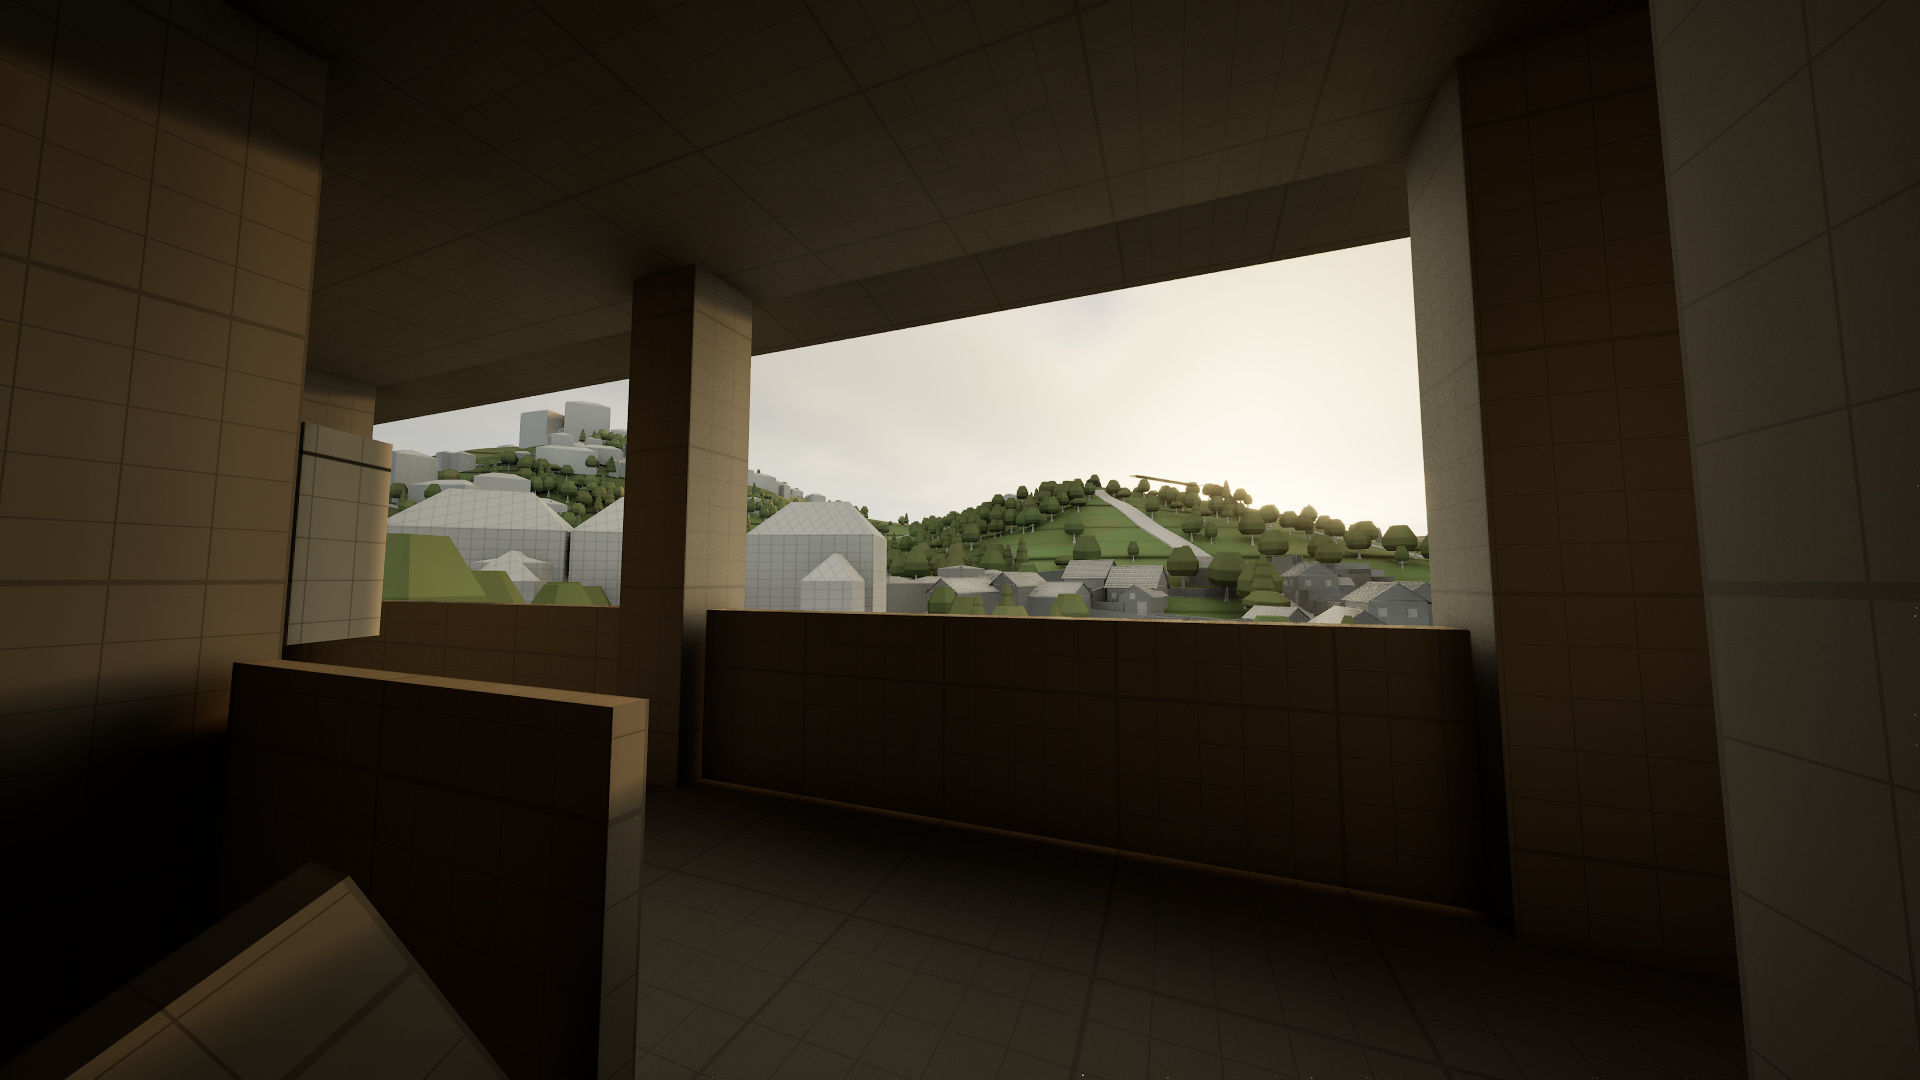
And here’s a video recording walking around. The player is intentionally small (approximately 1.4m, or 4’7″) because they’re young, so things do look large. The other NPCs are about the average male size (~1.75m, 5’10”)
I also temporarily switched to Lumen for GI. The FPS is too low (50FPS on my workstation, barely 10 on the Steam Deck) and the ghosting issues are too much for my taste (especially when everything is grey and untextured), it’s still very useful for prototyping so I’ll keep it for that.
I’ll keep expanding slowly until I have a full village. things should be faster from now on.
Robot Sounds and mouth “movement” visualization
I added more robot sounds. The idea is to make them distinguishable from the player’s sounds and a bit older. Here are two recordings of me experimenting and playing them in-game. The volume is a bit too low, so you might have to increase it.
With that said, I also added mouth “movements” to the robots, so you can clearly see who’s speaking (also for art direction). Here you can see the new sounds and the mouth moving
Player Speech
I added a new interaction type called “player speak”, which is a slight variation of the normal “dialog”, but instead of your interaction partner actually talking it’s the player. This is conveyed through the camera pointing back at the player, the name changing to the player’s name, and also the robot voices changing and the mouth vizualisation.
Scrambled Text
At certain points in the game the player will come across people who don’t speak the same language. They use a different communication protocol, so it’s like speaking a different language. To keep things simple, I am just substituting the letters with other letters (for example “A” becomes “?”, “B” becomes “P”, “C” becomes “1”…etc).
I also extended this to chatter and greetings.
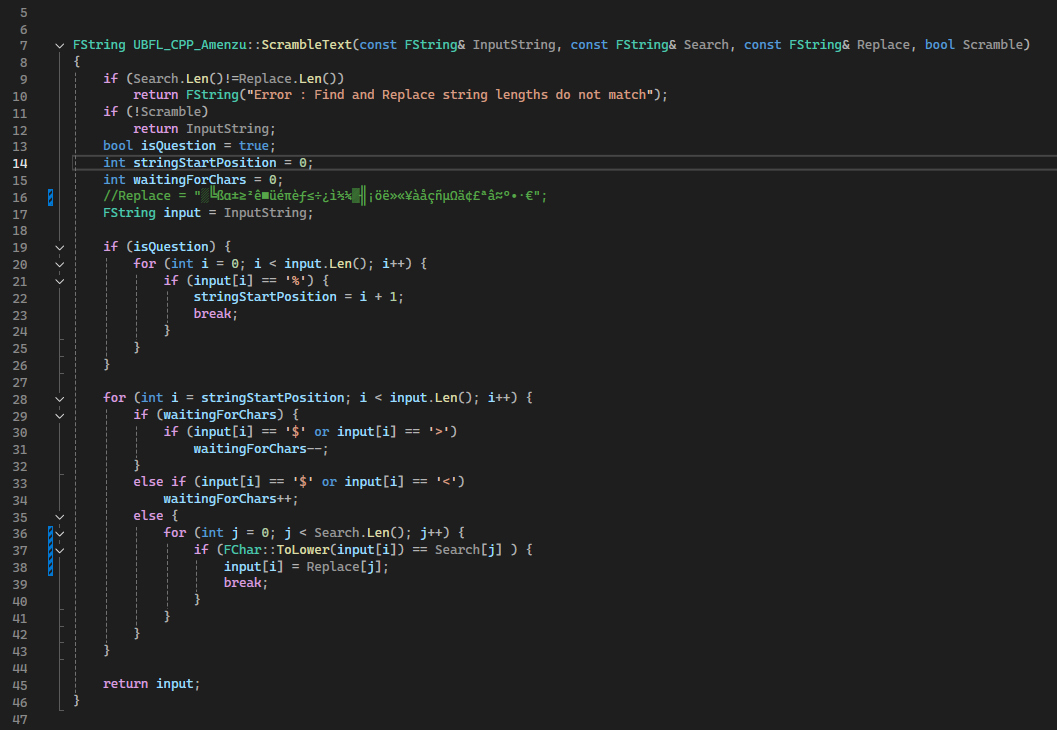
I did not expect this to be the first function that needs to be written in C++. It was too slow in blueprints and it kept triggering the infinite loop safeguard because it has 3 nested loops and ran through hundreds of characters. So I quickly looked up how to write a blueprint function library in C++. It wasn’t as hard as I expected, but one obscure issue that took me a while to figure out was with building it. I didn’t realize I had to have all instances of the Unreal Editor closed before attempting to do that.
I also noticed that what would normally be runtime errors in Blueprints (index out of bounds for example) crashes the entire engine in C++, so I added a check to make sure the search and find strings have the same length.
Here is the code, nothing fancy, just get an input string, letters to search and letters to replace them with. The Scramble boolean variable is for convenience, if it’s false then the function will return the input code unchanged.
I included more checks to account for internal variables (anything between two $ symbols, like “Hey there $PlayerName$ !”) and chevrons (“This is the <Highlight_Object>key</> I’ve been looking for”), and branching destination (anything before “%” in the options, like “Accepted_Tea%Yes, I’d love some tea, thank you.” and avoid scrambling them.
Here’s what it looks like in the Editor.
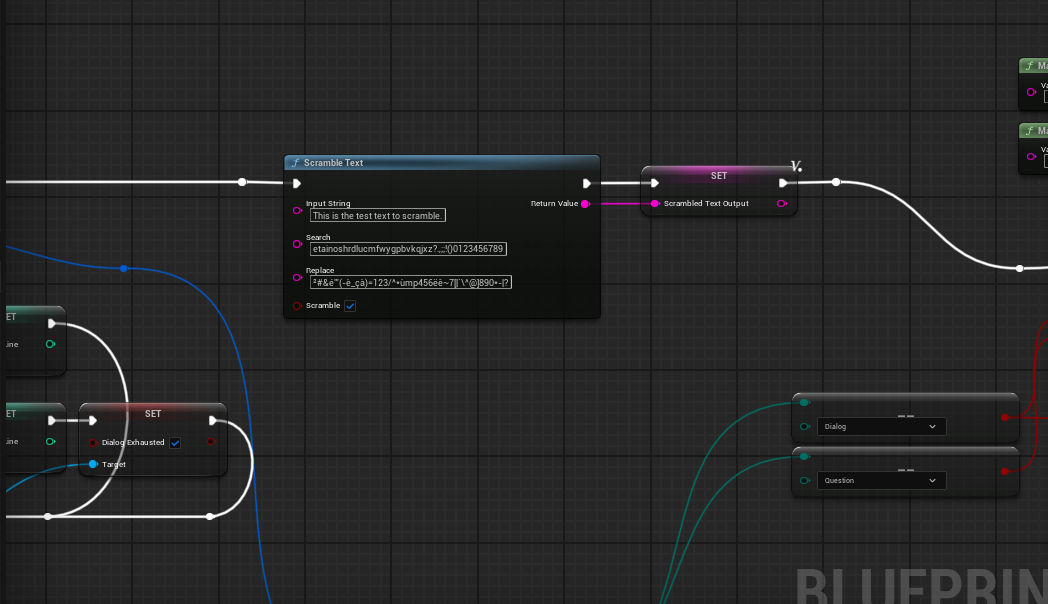
Fun fact : ordering the search letters by their frequency in the English language instead of alphabetical order (so “etainos….” instead of “abcdefg….”, because e is the most used letter) results in about 15-20% more performance, because it’s statistically more likely for a matching letter to be found earlier like that.
I could optimize it by leveraging ASCII code numbers and binary search and things like that, but this only gets executed once when the data is loaded, and it barely has any impact on performance, so this will do.
Trigger Animation
I added a “trigger animation” blueprint actor, which is just a trigger box that starts an interaction with a specified actor when the player steps on it. I can even set a starting point from the interaction script.
It’s just a “proof of concept” and not the only means to do it. I foresee needing different ways to trigger an interaction, like the current line/milestone of a specific actor reaching the selected point.
New NPC
I wanted to create an NPC with animations and state machines from scratch to practice, because I didn’t feel like I understood it well enough. I used a husky model that came with animations (“LowPoly Dog – Husky” by Radik Bilalov) and reverse-engineered the third person template. I experimented more with State Machines and added things like multiple idle animations, twisting/leaning the body to the left and right when you rotate, as well as a basic jump and land animations. It doesn’t look that impressive, especially the jumping and landing animations, but for the purpose of this study it’s irrelevant. What mattered is that I programmed the movement and controls and the state machines.
While I was at it, I thought this would be the perfect test for my NPC class. So I swapped the robots with the husky model and made a few small edits and it worked. The AI and greeting and interaction all worked well. From now on all I have to do is to switch the default NPC model with any model I want, and it doesn’t even have to have the same skeleton, as long as it has an animation blueprint compatible enough.
Here’s another variant with cats just because.
Here are some bloopers for your entertainment
That’s all for this week (and this year). Thanks for reading and have a great week!
