
I didn’t want to post week 35 on its own because most of it was spent on the robot model and I didn’t feel like that’s worth a devlog on its own. So instead here’s a summary of what I did in the past 2 weeks.
Mechanics
I was talking with a friend about how spinning the character is one of the first things I do when playing games, and I thought I should make a reward/easter egg for it, so I did. Luckily it only took about 1 hour of work, and I think it’s worth spending some time on funny mechanics and features for players to find.
The way this is calculated is by having an “dizziness” value (displayed on the top left of the video), which is really just the rotation difference between the previous and current frame (* frame delta to compensate for variable frame rates), multiplied by an arbitrary scalar value I chose, then added to the “dizziness” total. At the same time, each frame (again compensating for variable frame rates), a small value value is also subtracted from the variable. That means if you spin a little bit and stop, the dizziness value decreases and will eventually go back to zero, but if you continue spinning and reach the threshold (2 in my case, which triggers at around 3 or 4 seconds of spinning), it will put the player in a dizzy mode, which adds random input to the camera, and also changes the character’s eye to play the dizziness animation. At the same time the dizziness value is forced to 8 as soon as 2 is crossed, and it will decrease slowly, as long as the player stops spinning. You can remain in a dizzy state forever if you keep spinning, but dizziness will not exceed 8. Once it goes down to 2 it is forced back to 0 immediately, to prevent players from getting immediately dizzy again, because otherwise the value will quickly exceed 2 again and be forced back to 8.
Blockout Tool
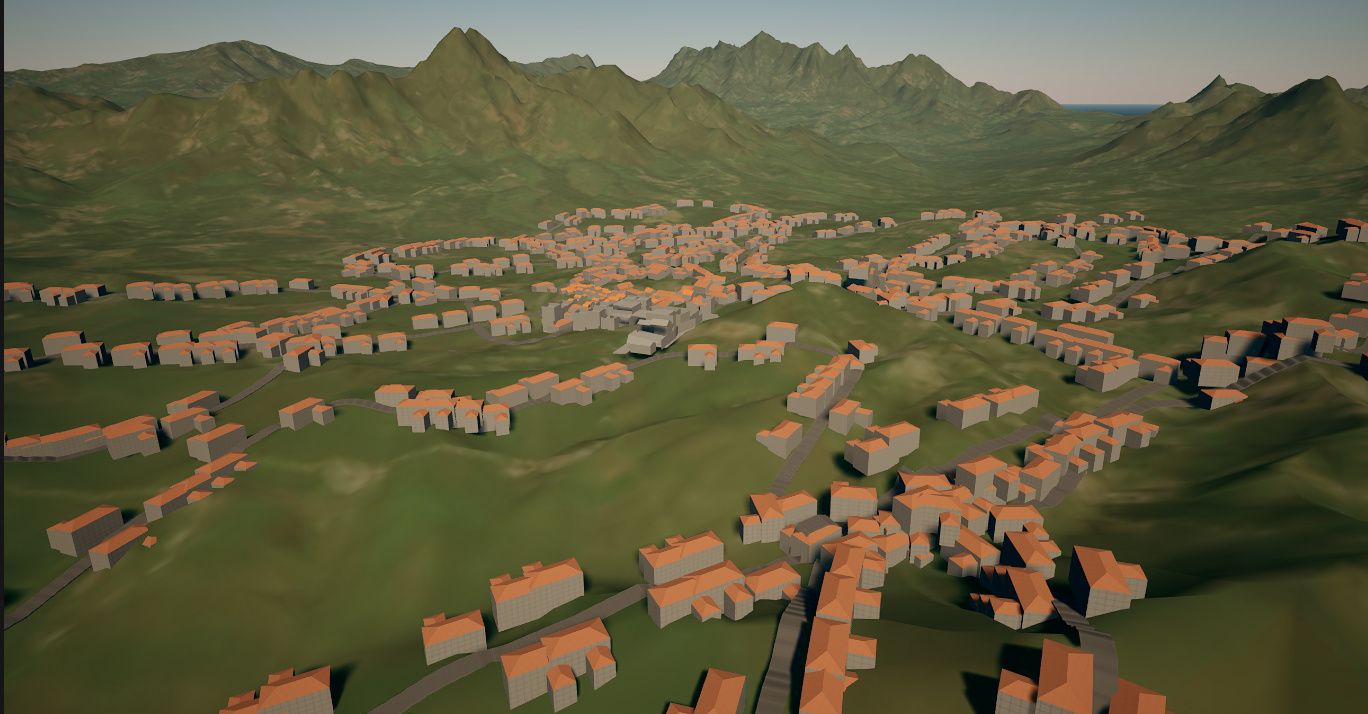
I created a “street sketcher” spline tool for unreal engine. It scatters houses and creates a road along a spline, and projects everything on the Z axis. It’s helps speed up the blockout process, especially on secondary locations. This is only a starting point, I will take the results and refine them more.
Here is a result of a super quick test, done in less than 5 minutes, the results look convincing enough already, even before I manually tweak things.
Main Character Model
This was where most of my time went in the last 2 weeks. I modeled the arms and hands, along with a believable design for elbow and shoulder joints. I also redid the entire spine, making it just 3 segments (4 if you include the hip) instead of a dozen of smaller vertebrae, and I designed a new torso again from scratch.
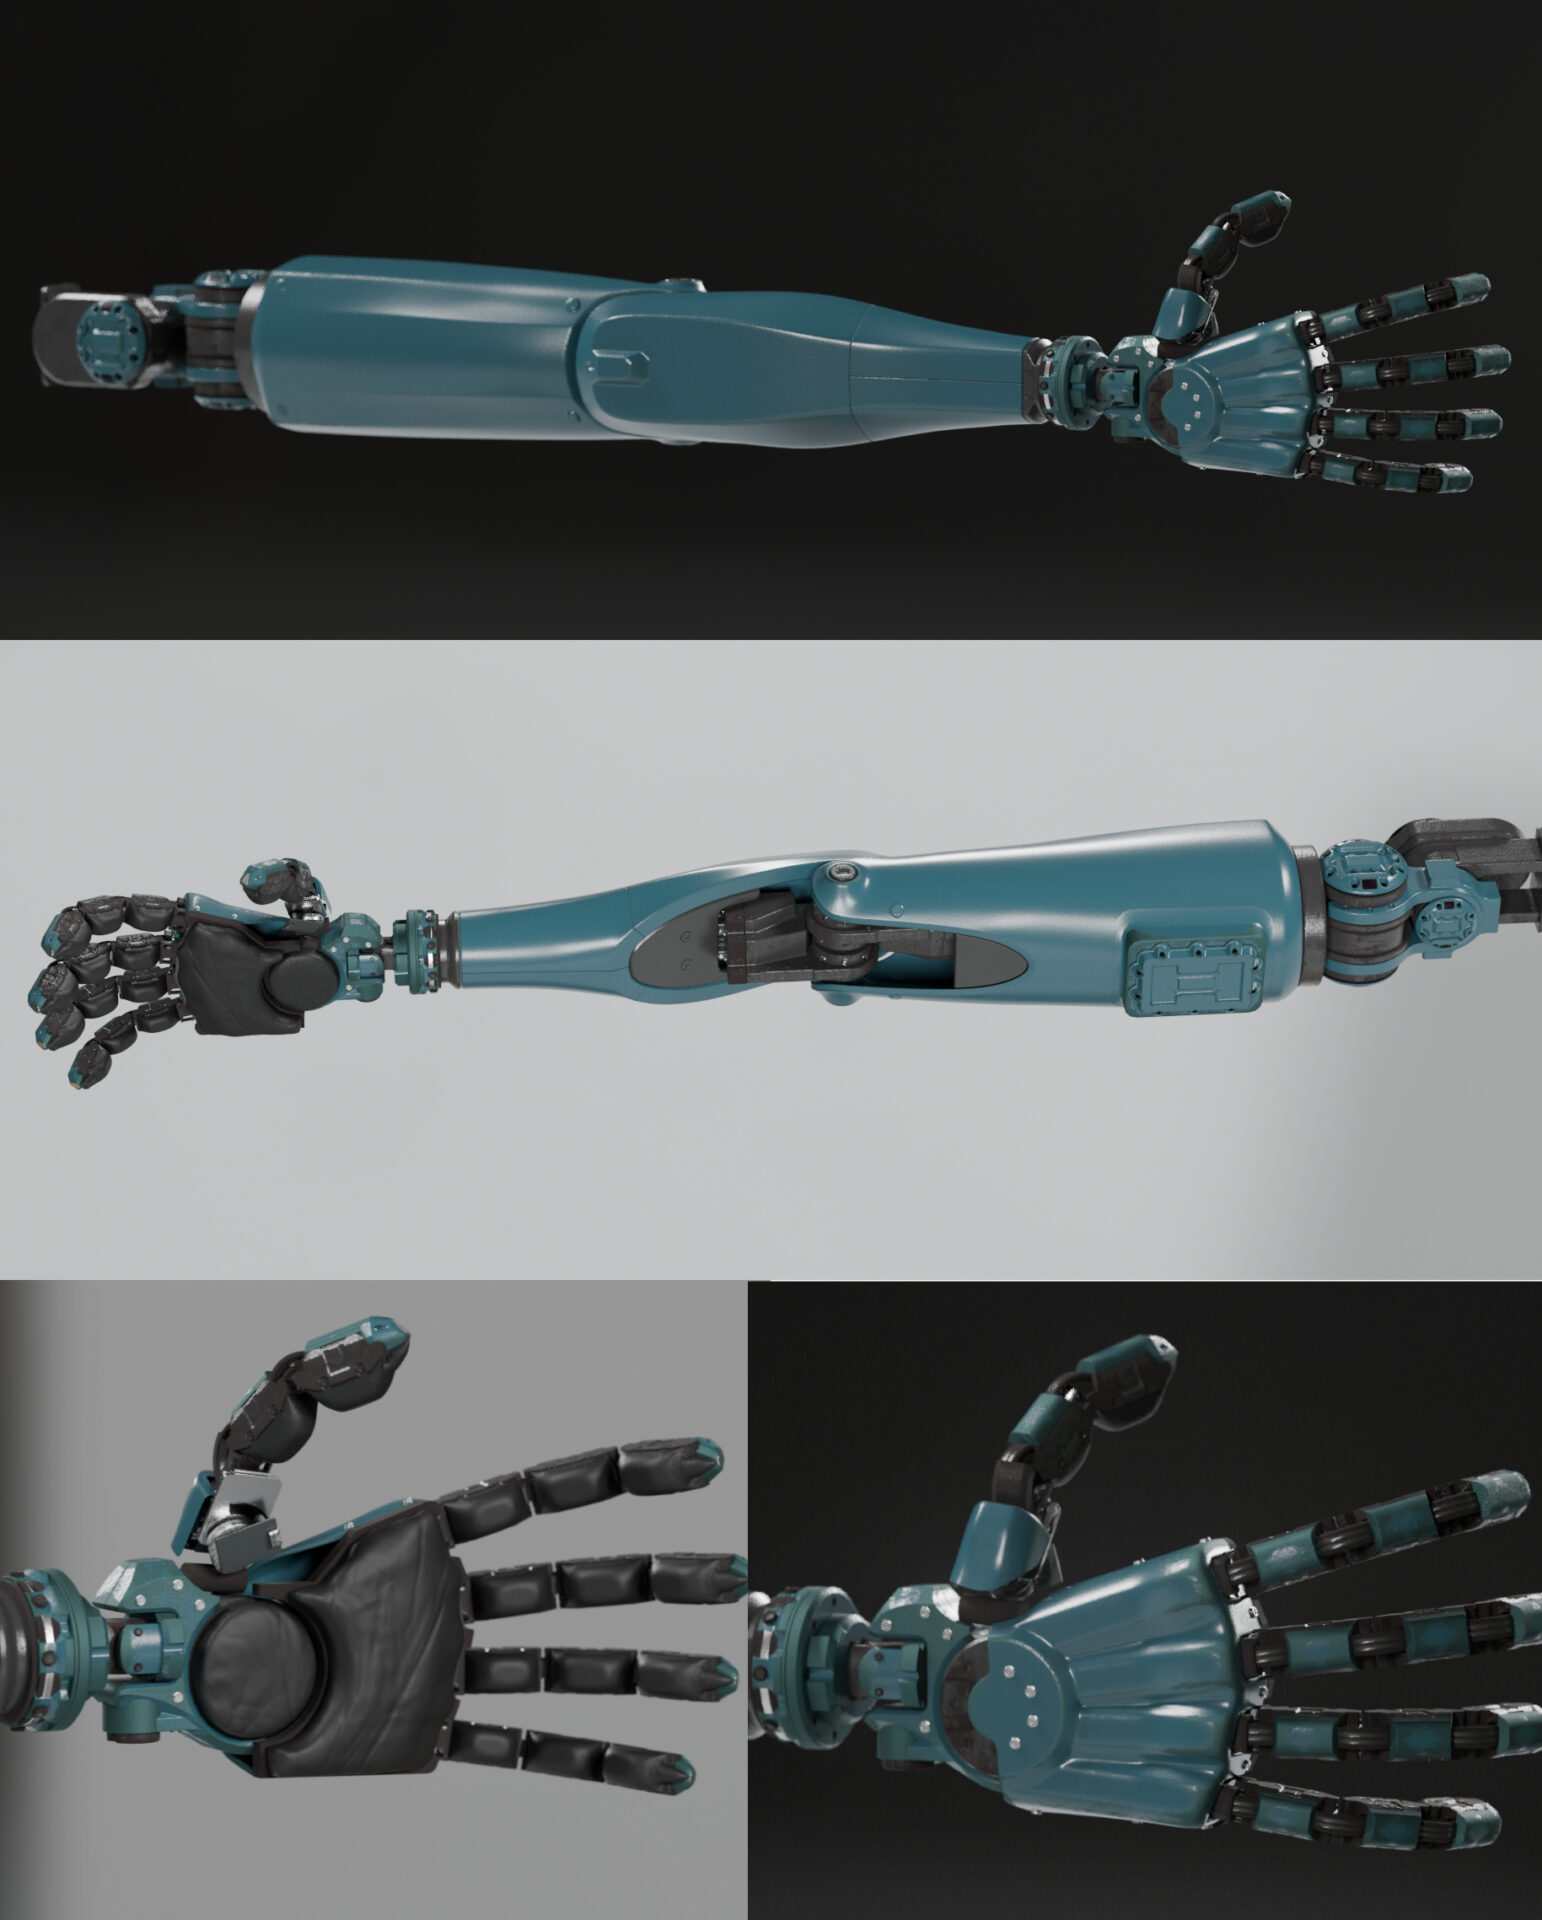
The main driver for the shape (aside from the aesthetics I want) is the mobility, so I created simple rigs (just parents and empties I animated), segmented the shapes and removed whatever was intersecting. It is imperative to me to limit all unrealistic deformations of metal, and focus on a more believable movement and mechanical design. Here are a few early movement tests.
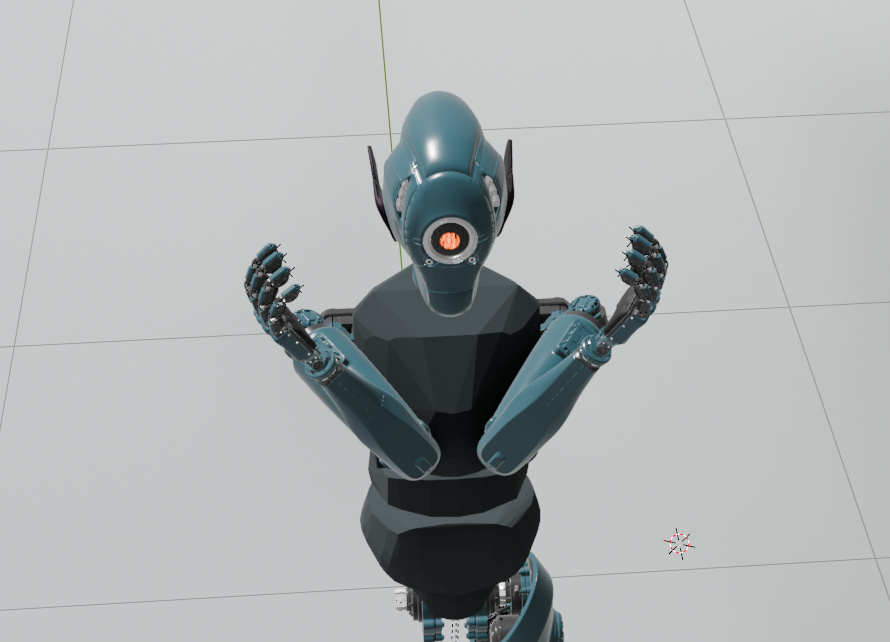
The first one is just basic double check, to make sure the arms do have a good motion range.
This one is more complex, testing some common/difficult poses. (Ignore the weird object near the shoulders, it had the wrong mirror modifier settings)
The model is not as flexible as a human body in some cases, like touching both elbows together, because the torso is in the way, but it’s not an issue.
The area that was the hardest to design was the torso. I didn’t want to make a complex layered mechanism because I thought it didn’t fit with the retrofuturistic style I wanted, and I did not want to limit mobility. I also didn’t want to make huge gaps between the segments, so I had to make the torso thinner than I initially wanted. The design started with very basic shapes (shown in the “Movement Test 2” video above), then I added difficult “yoga” poses, which is just the limit of mobility I wanted to achieve, and then edited the base mesh to remove intersections. After that I modeled the shell on top, and made the internals and detailed.
Here is the result with all of that done. There is no intersection, and there are tubes and a (basic) hydraulic system for each segment. I’m satisfied with the result.
I made a “tube generator” tool in blender. It took about 30 minutes to make, but it saved a lot of time, and I can reuse it in the future too.
The file can be downloaded for free from https://ko-fi.com/s/cc598cbf1d
And finally, I put the model in a warehouse environment and made a cinematic lighting to make sure I am happy with the results before I commit. Below are the (almost) final renders. Zoom-in to see all the details.
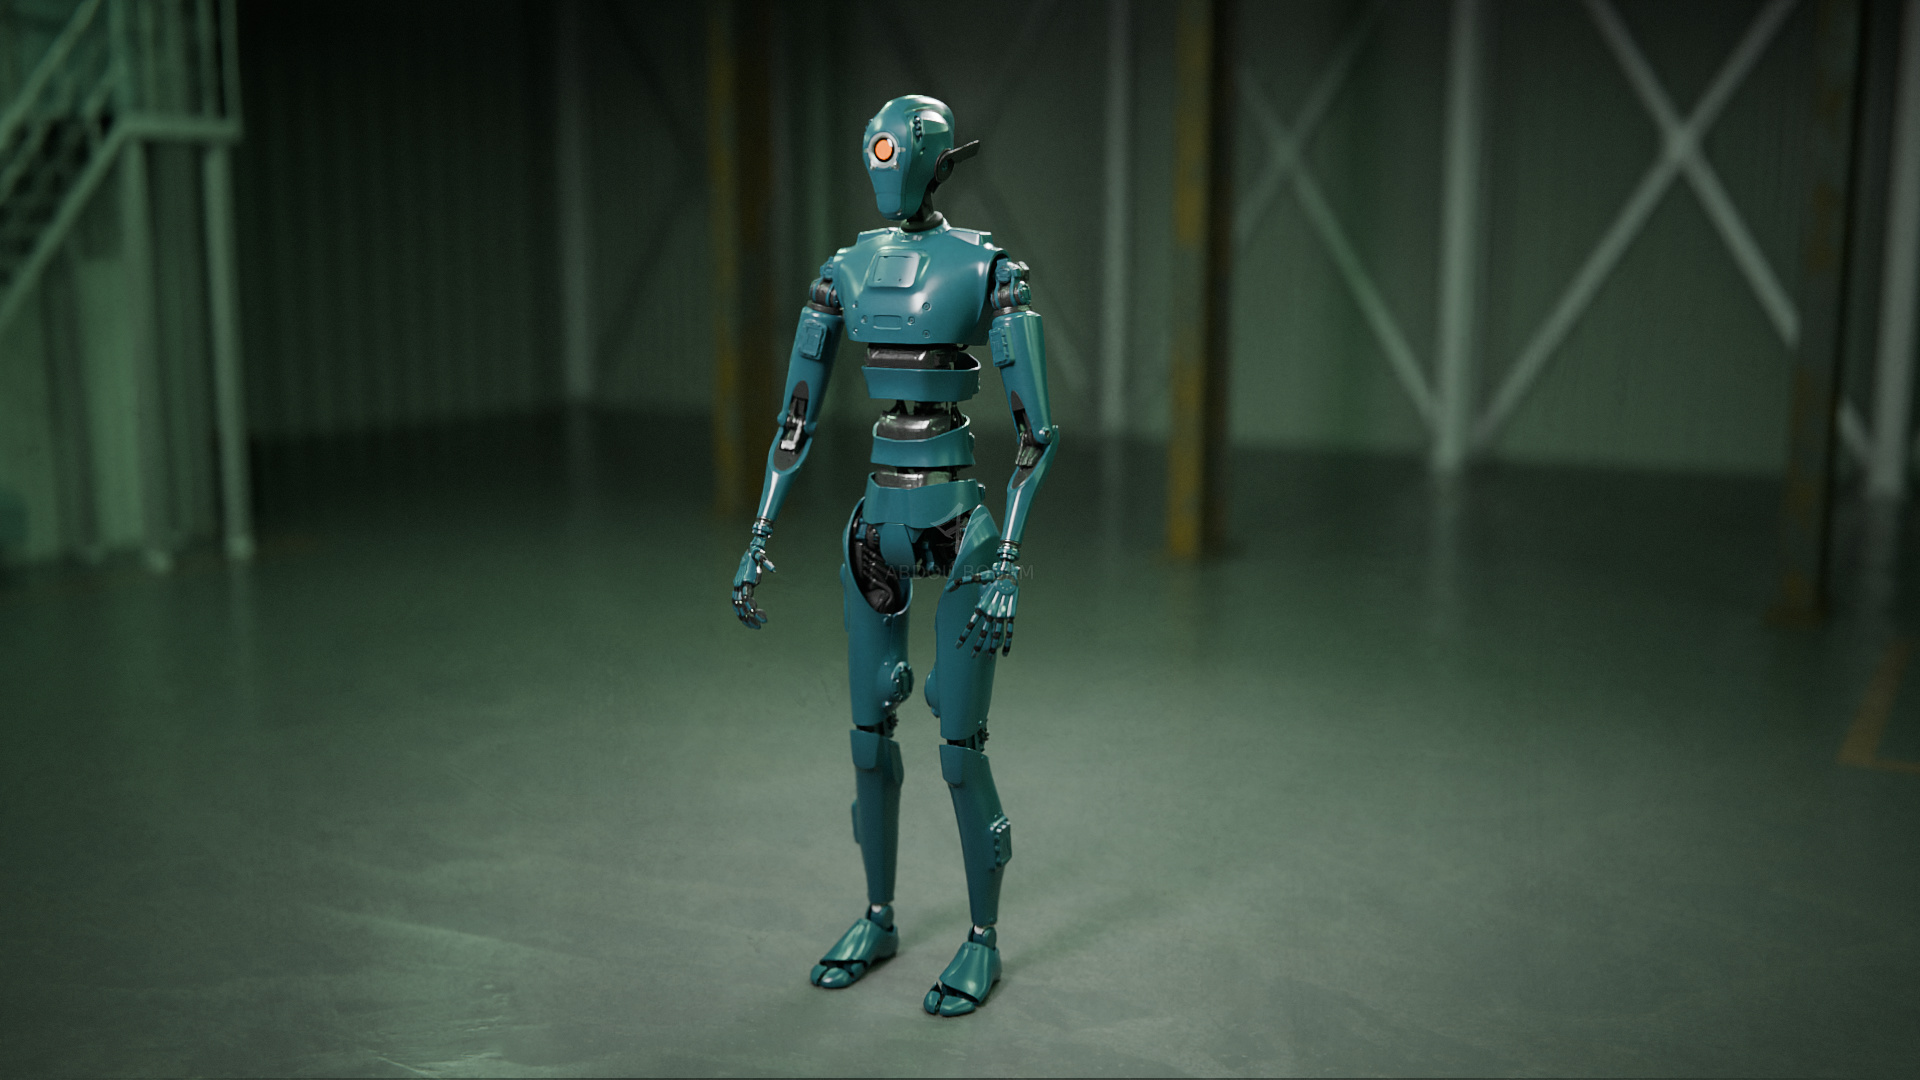
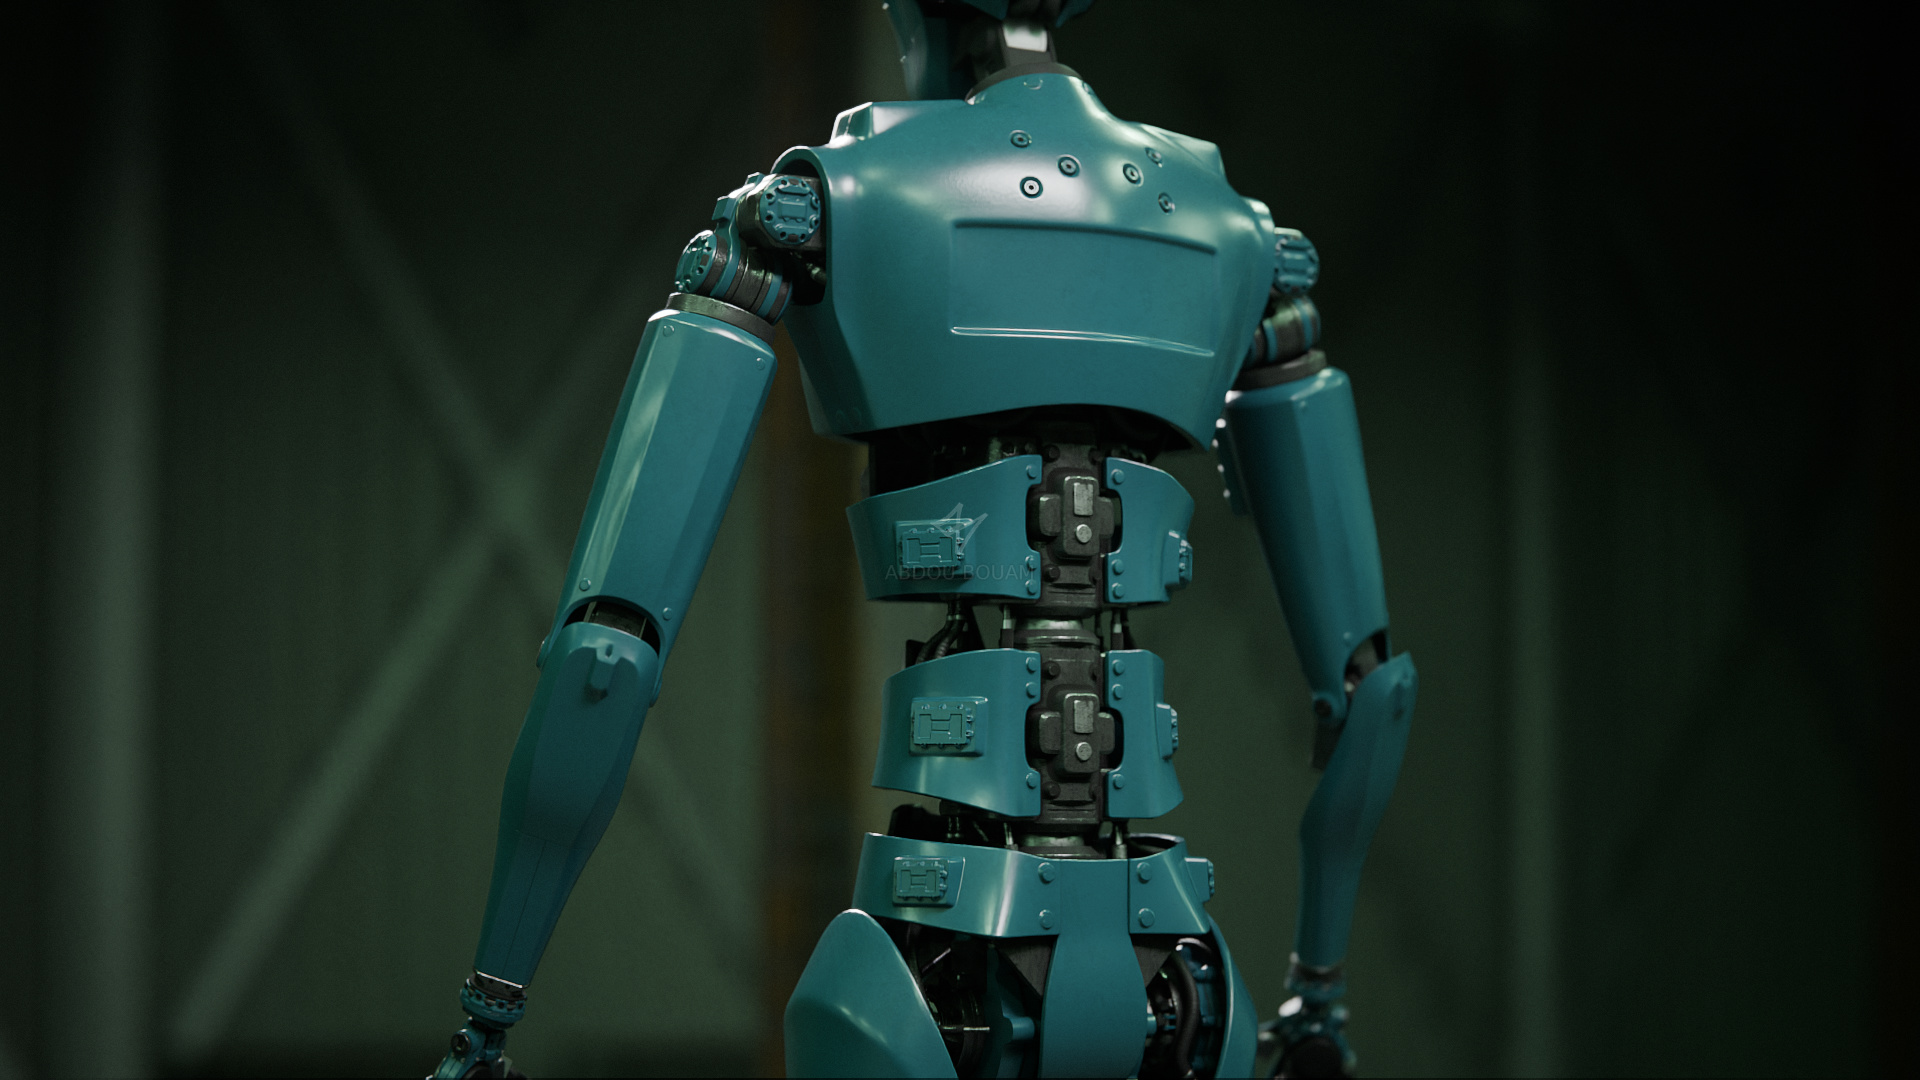
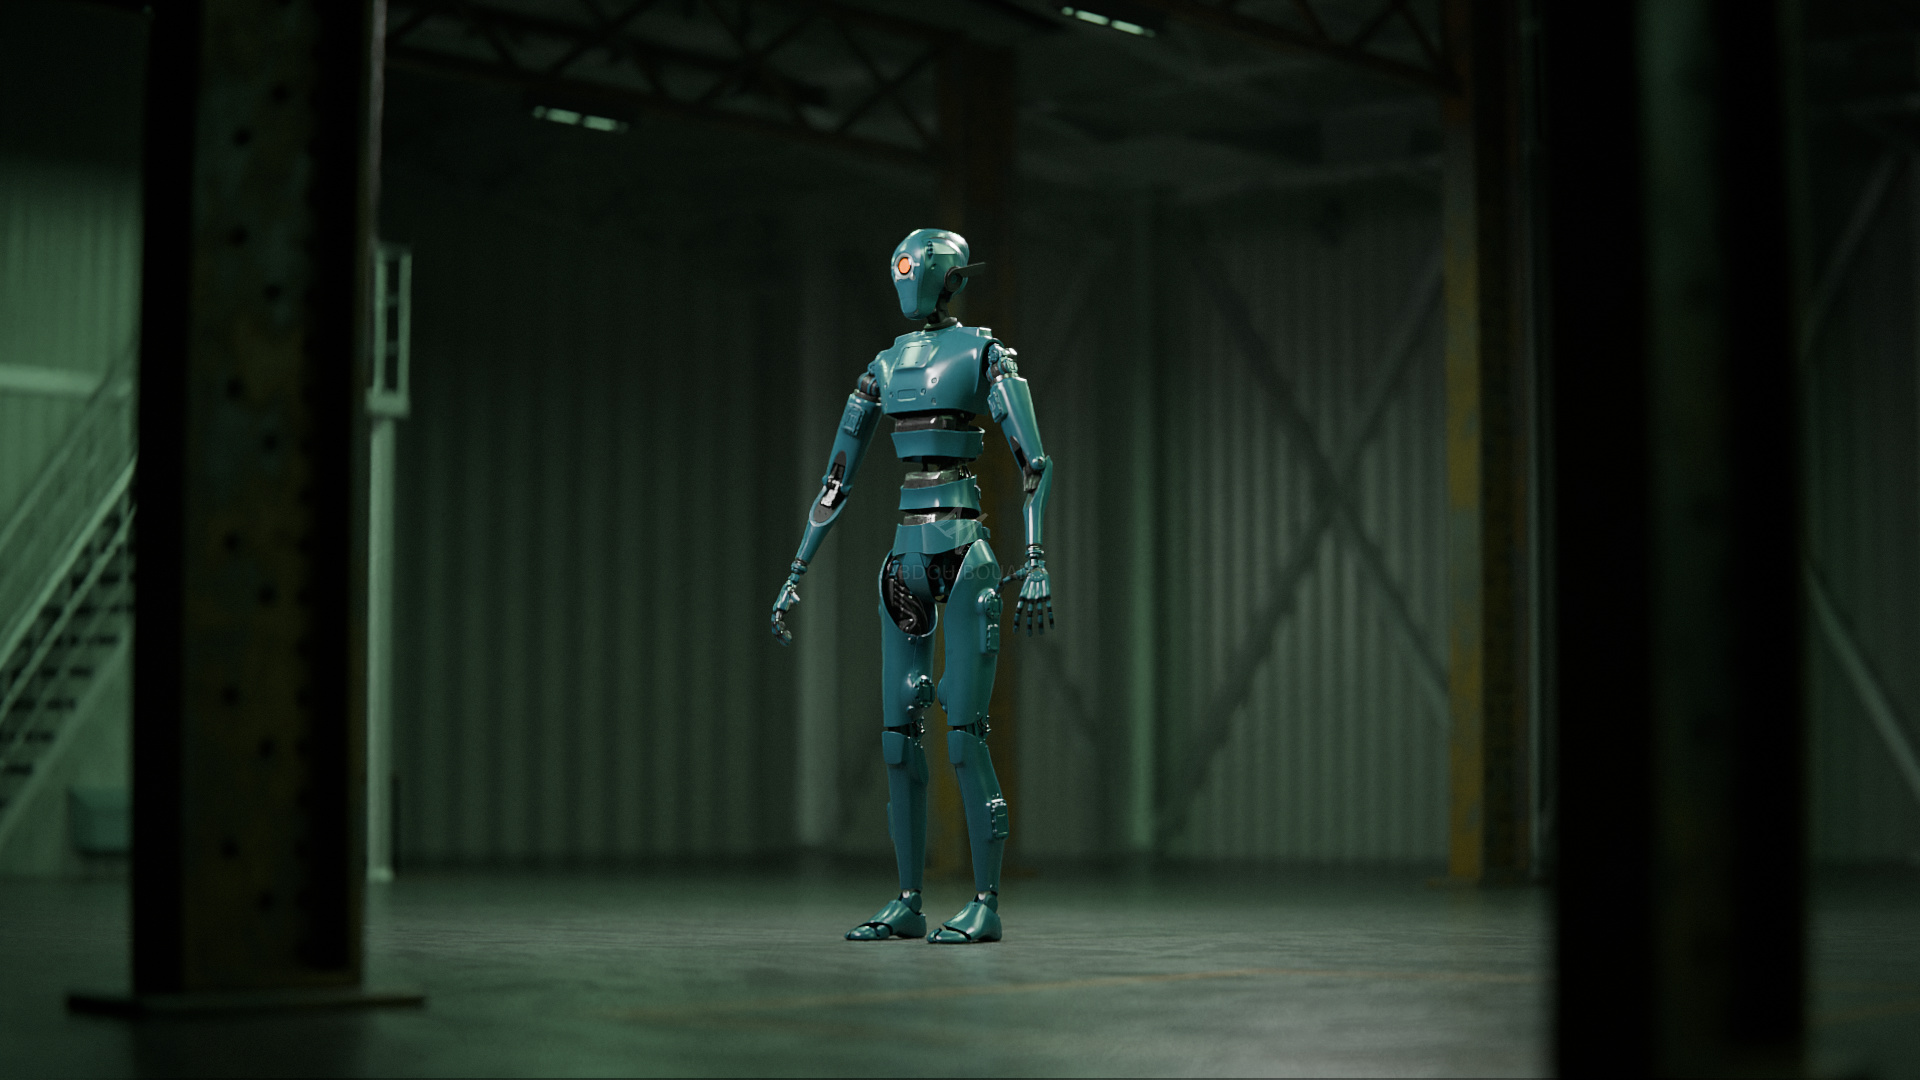

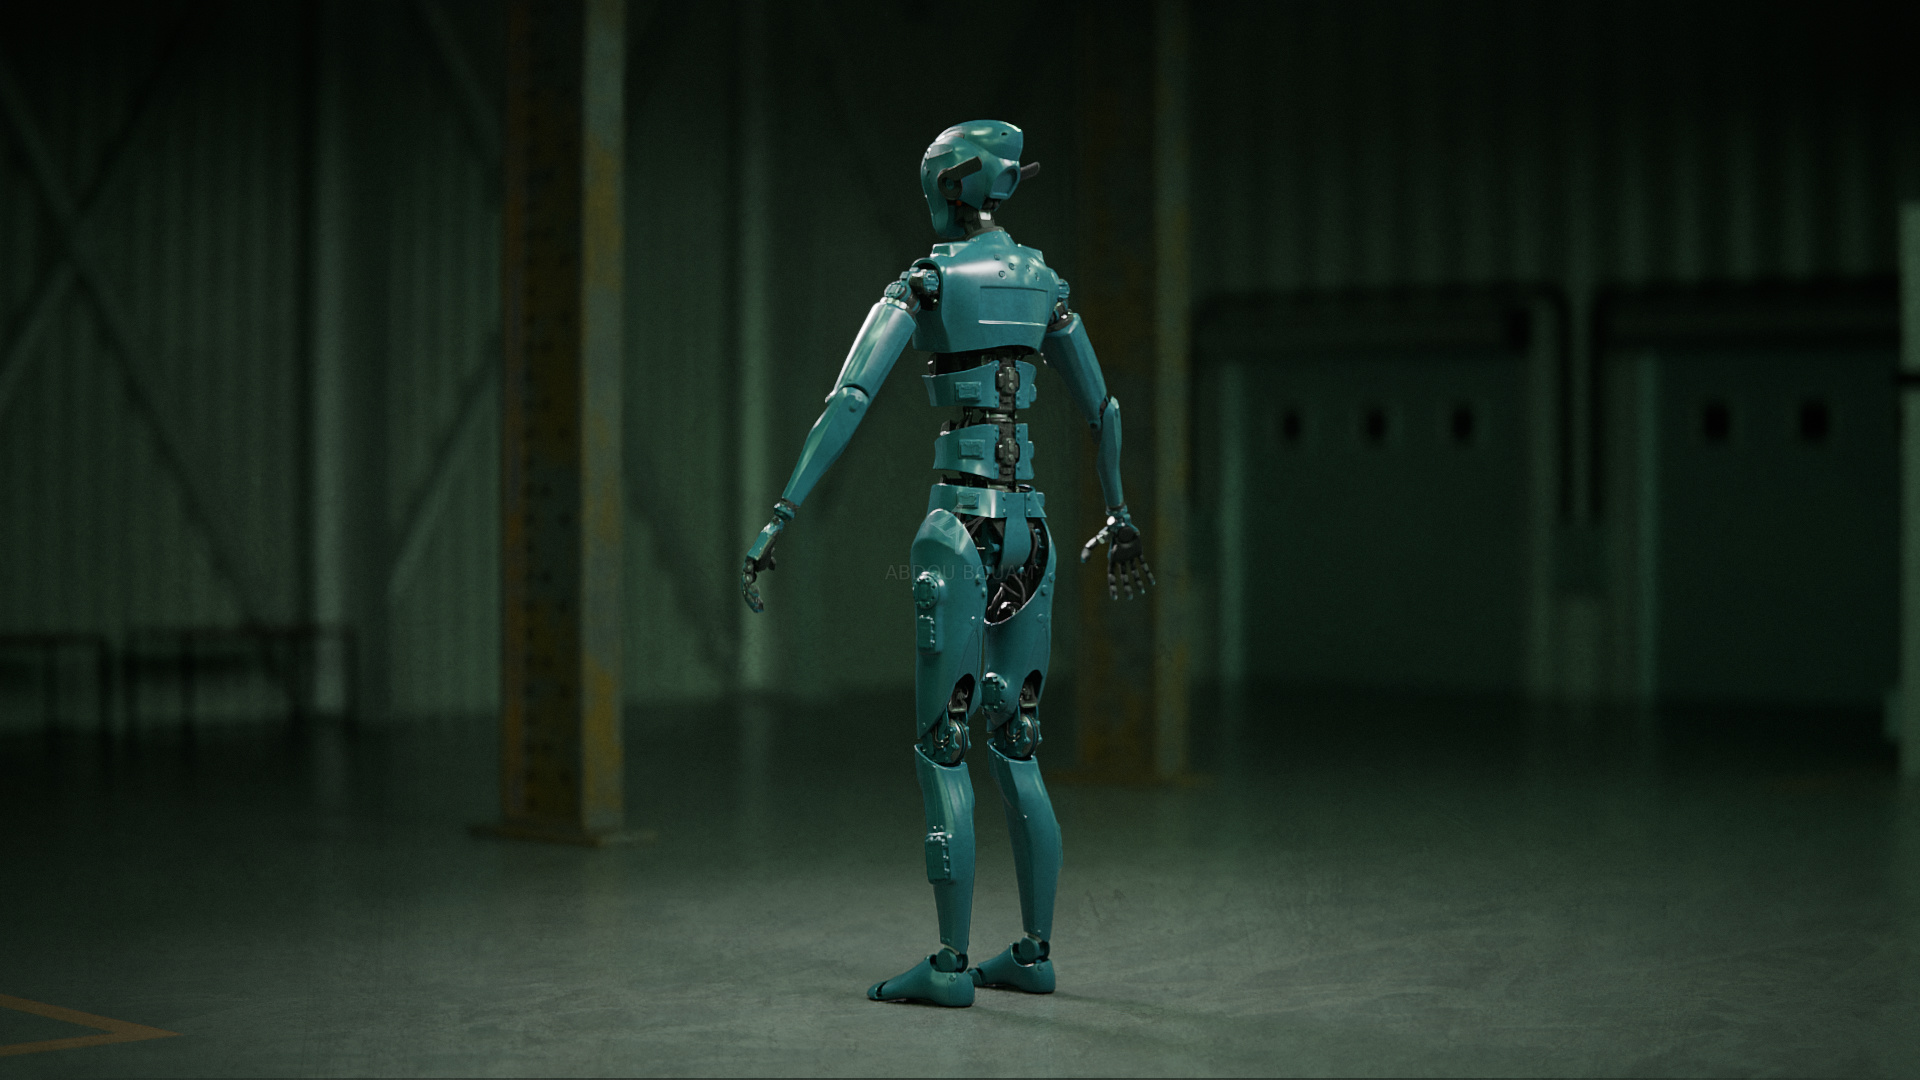
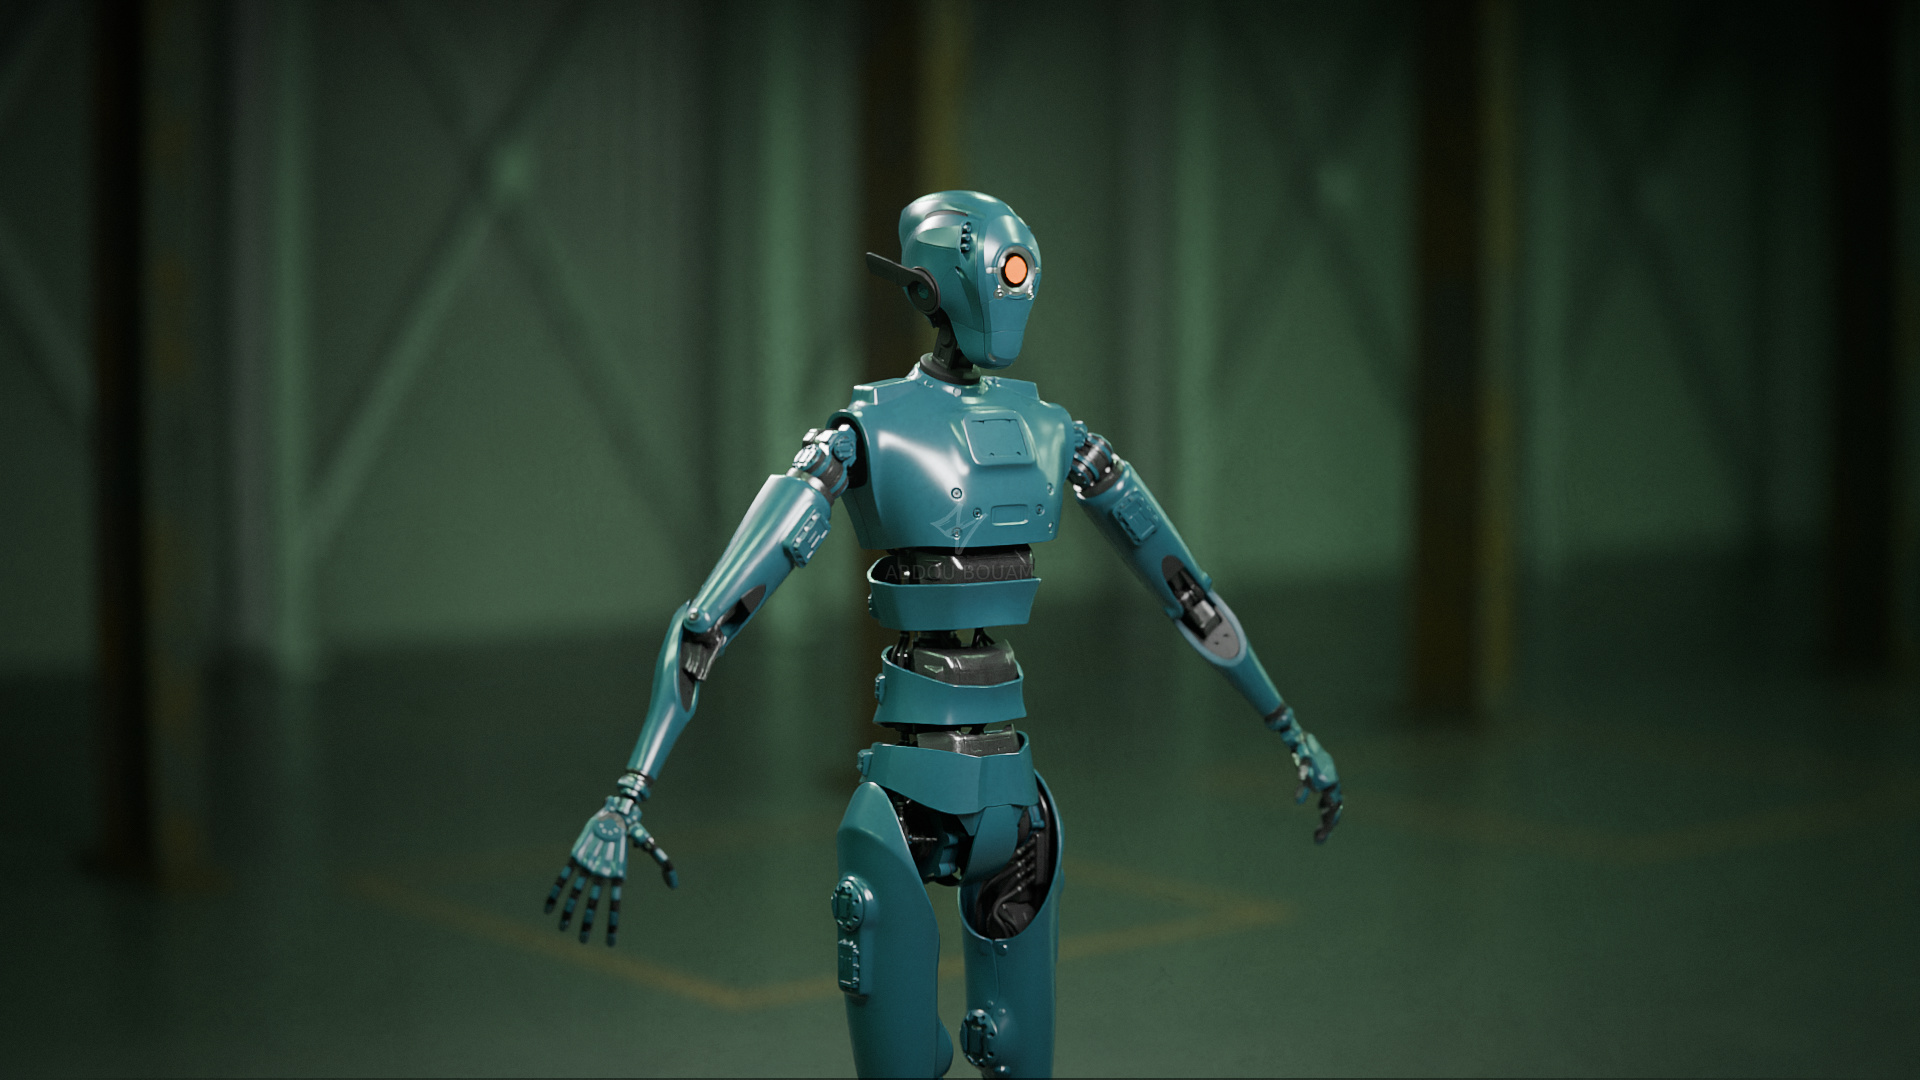
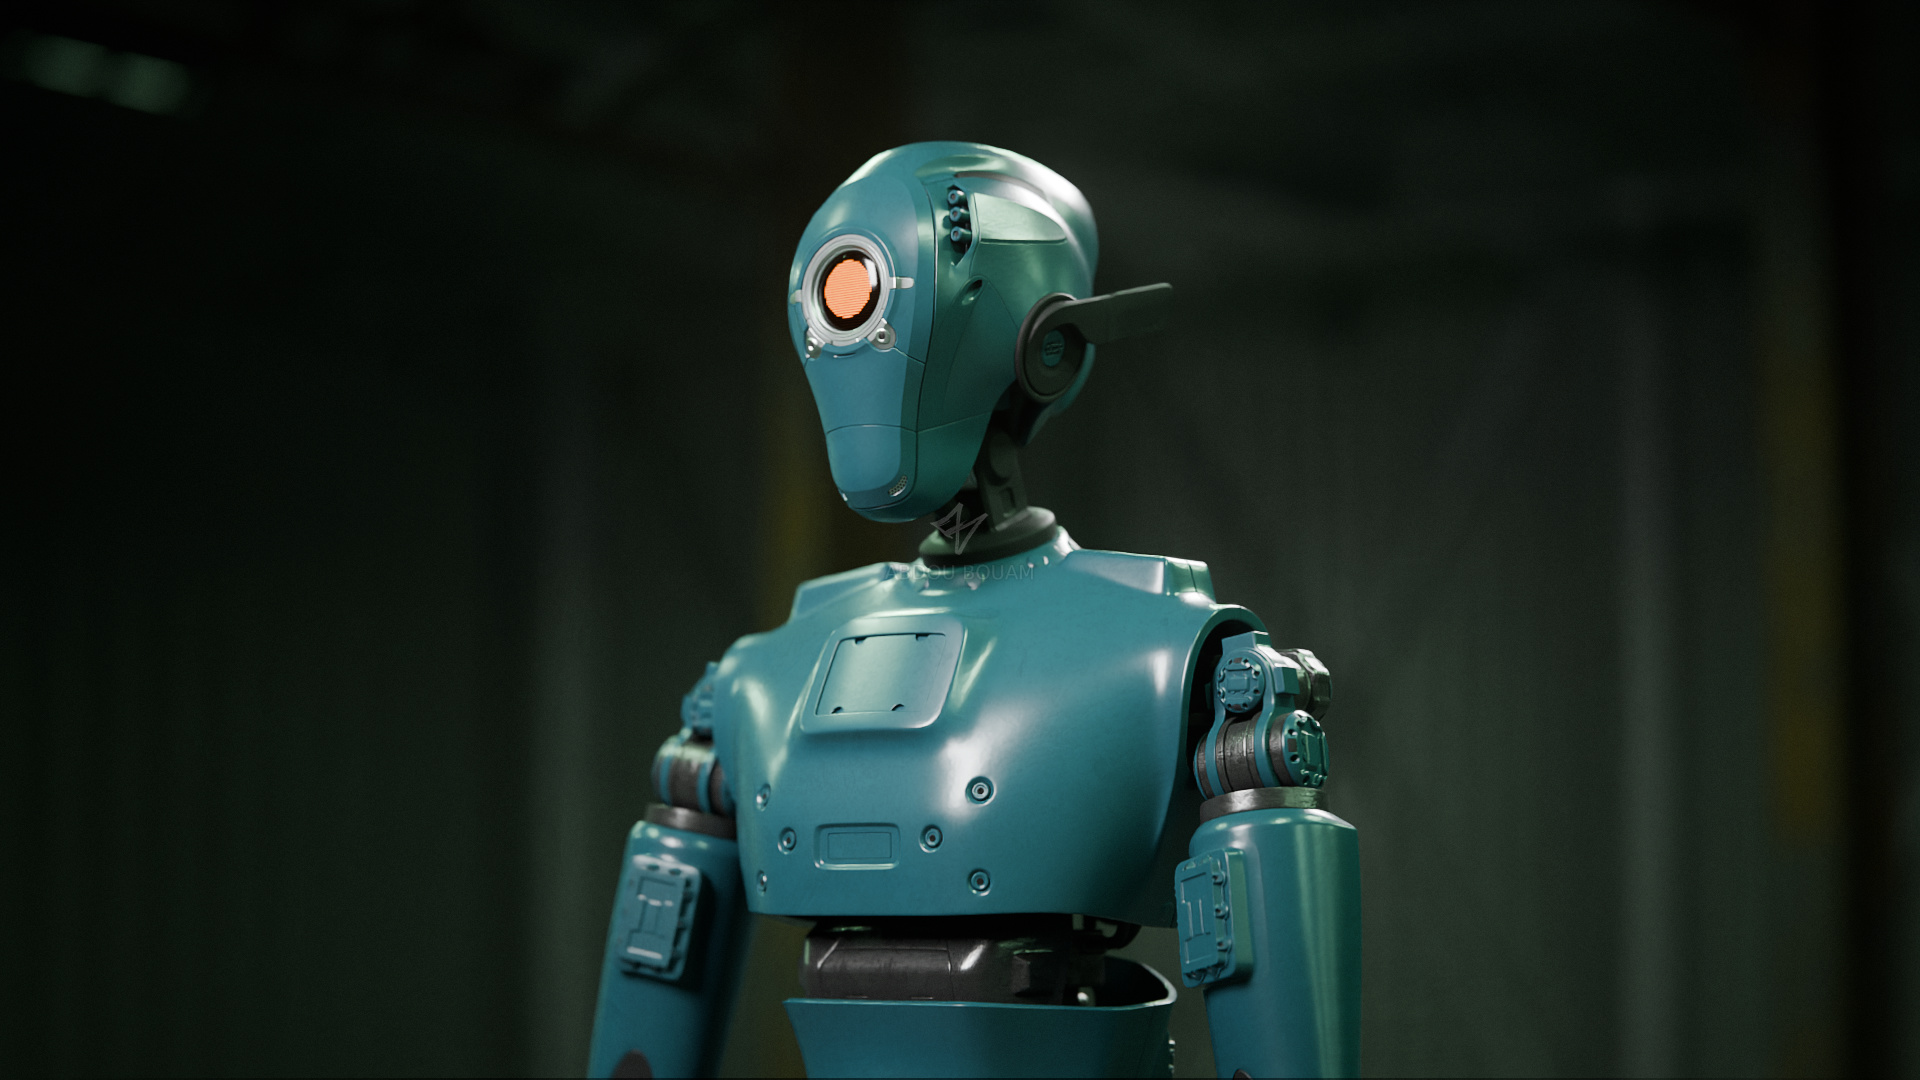
This is still just the high-poly version. It’s about 30 million polygons so far, so even offline rendering struggles a bit. I hope I won’t face many issues when baking this in Substance Painter or Marmoset Toolbag.
That’s all for this week, thanks for reading, and I hope to see you again next week. Cheers!